Set up your factory
What we’ll cover
Create your copy of the Marky starter app, walk through the Warp Factories setup flow, and send your factory its first message.
Now that we understand software factories at a high level, let's jump into actually building one.
Throughout this course, we'll be using Warp Factories to build a software factory from start to finish.
Meet Marky
First, you'll need a code repository for your factory to work on. You're free to bring your own, but to make things easier, we've provided a starter project called Marky: a simple Markdown editing application that lets you work with rich text backed by Markdown files on the filesystem.
Because Marky is a full-stack native desktop app that runs on macOS, Windows, and Linux, it's a great way to kick the tires on how workers build code, run checks, and even use computer use to click around the running app and capture screen recordings. If you want to run Marky locally on your own machine, you'll need Node.js and pnpm installed, though for the most part we'll let our factory do the work inside a cloud sandbox.
We've set up the repository as a template so you can create your own copy on your GitHub org (where we'll also be filing GitHub issues to bring work into the factory). Open warpdotdev-demos/warp-learn-markdown-app, click Use this template, then Create a new repository. Or, if you have the GitHub CLI installed:
gh repo create YOUR_GITHUB_ORG/my-markdown-app \
  --template warpdotdev-demos/warp-learn-markdown-app --private
Get started with Warp Factories
Next, let's head over to Warp Factories to create and host our software factory.
Log in or create a Warp account
Log in to Warp Factories and select your team. If you’re new to Warp, create an account, then you’ll be greeted by a setup flow to create your first factory.
New to Warp?Create an accountConnect GitHub and choose your repo
We'll start by connecting a code host. Warp Factories supports multiple code hosts, but to follow along with our example project, choose GitHub.
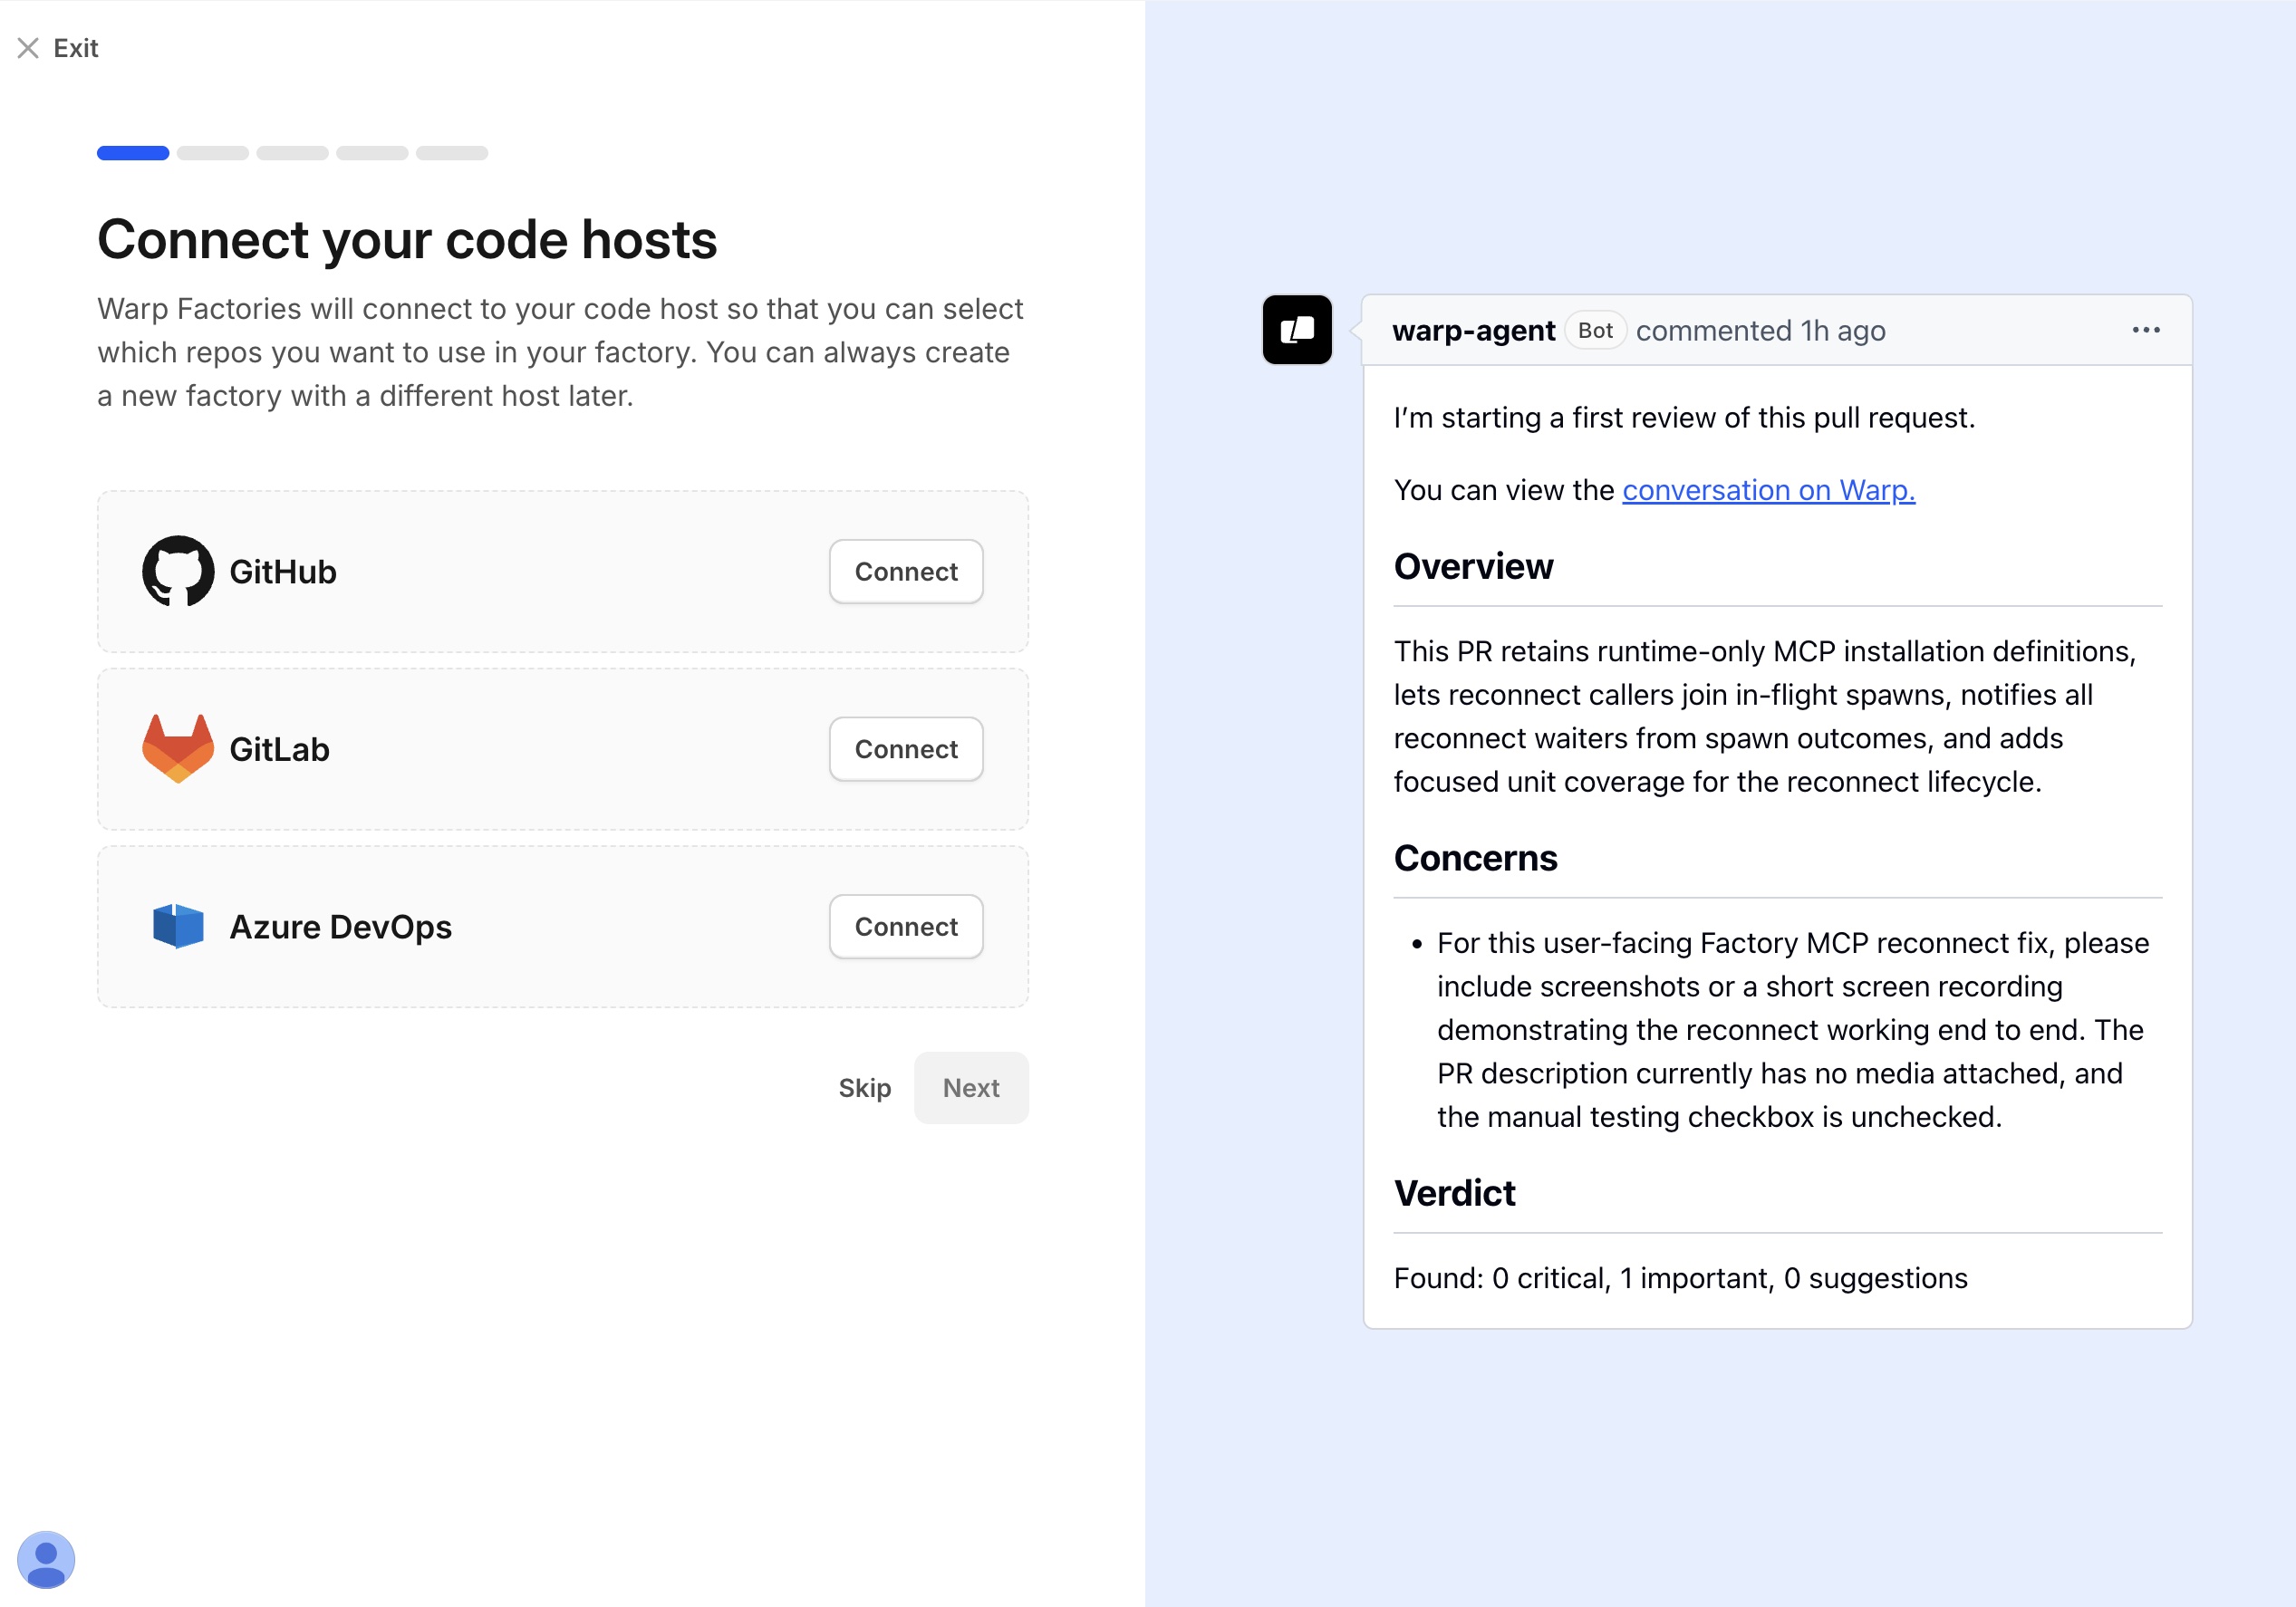
Connect GitHub to follow along with Marky. Next, connect your repository. You can connect as many repos as you want to a factory, but for this tutorial we just need one: your copy of our markdown app. If you just created the repo from the template, hit the refresh button and select it here.
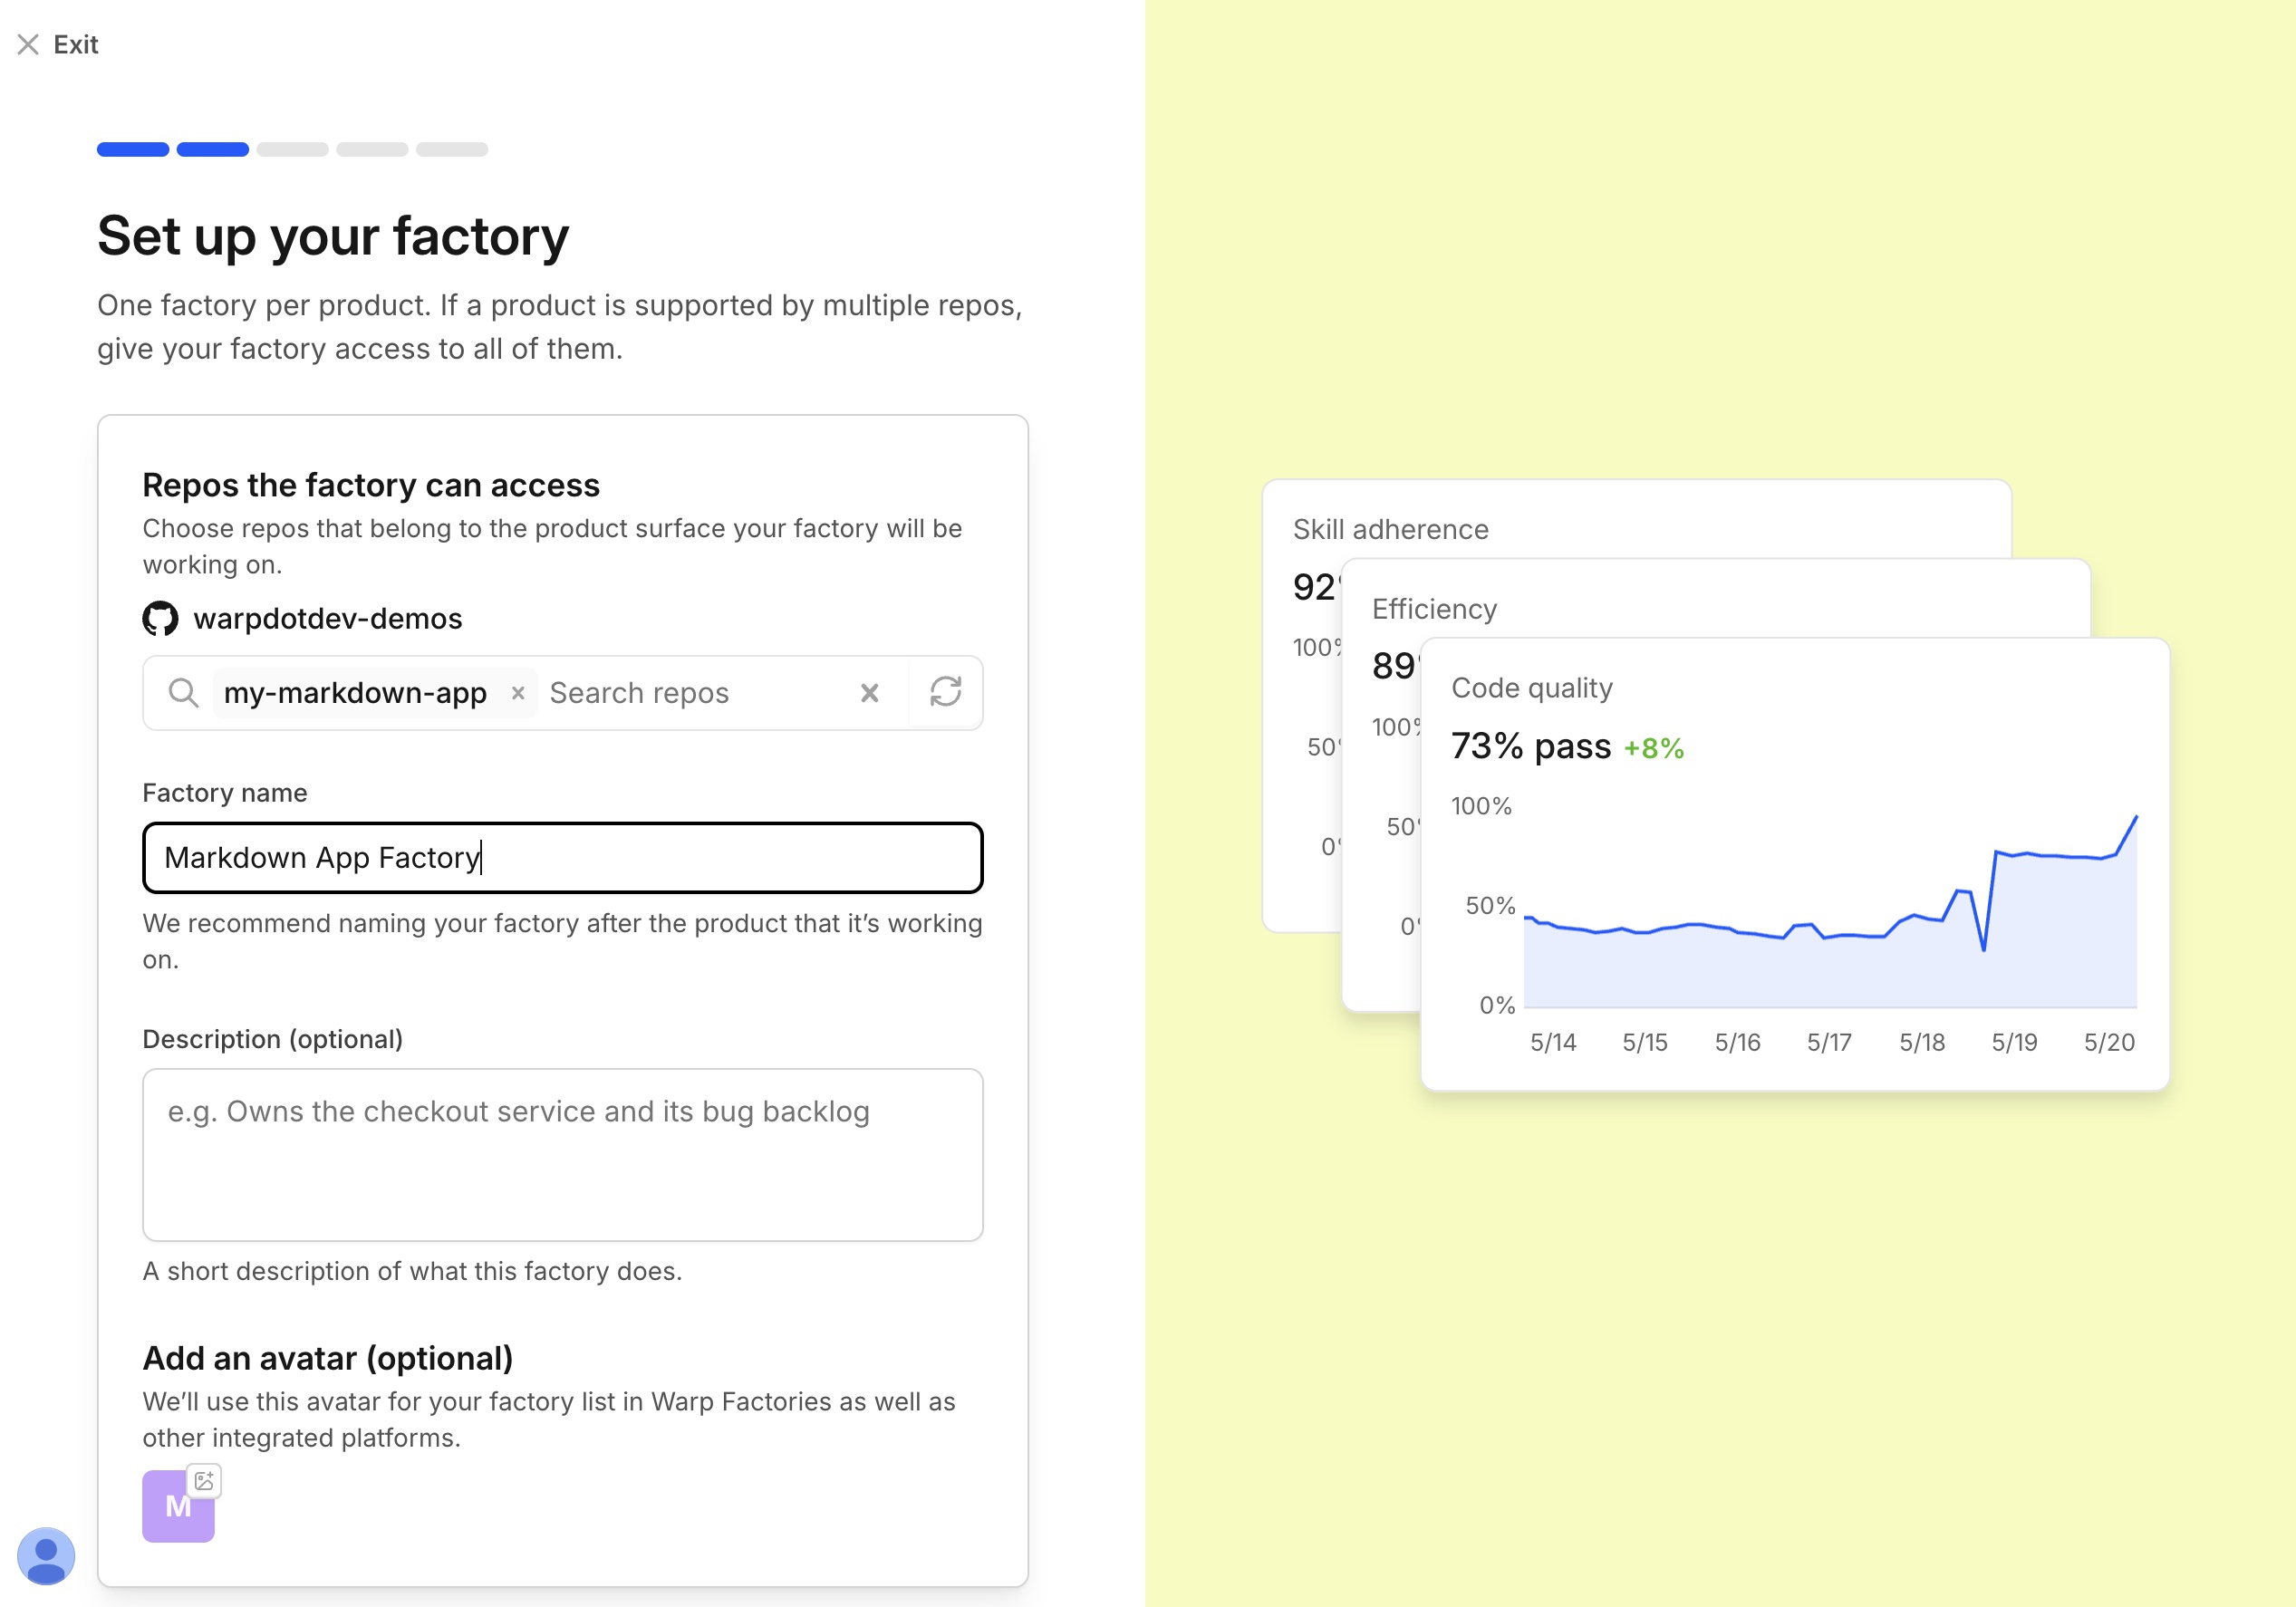
Select your copy of Marky. Name your factory
Next, give your factory a name. You might name it after your team (like "Engineering Factory" or "Go-to-Market Factory"), or as we recommend, name it after the product surface it works on. Here, we'll call it "Markdown App Factory".
Set up your blueprint
Next, you'll set up the blueprint, which defines your factory's workflow. You'll see a preview of each step the factory goes through when it takes on work.
Accept Warp's defaults for now. In Unit 2, we'll strip this blueprint back to its bare essentials and build it up stage by stage so we can understand how every component works.
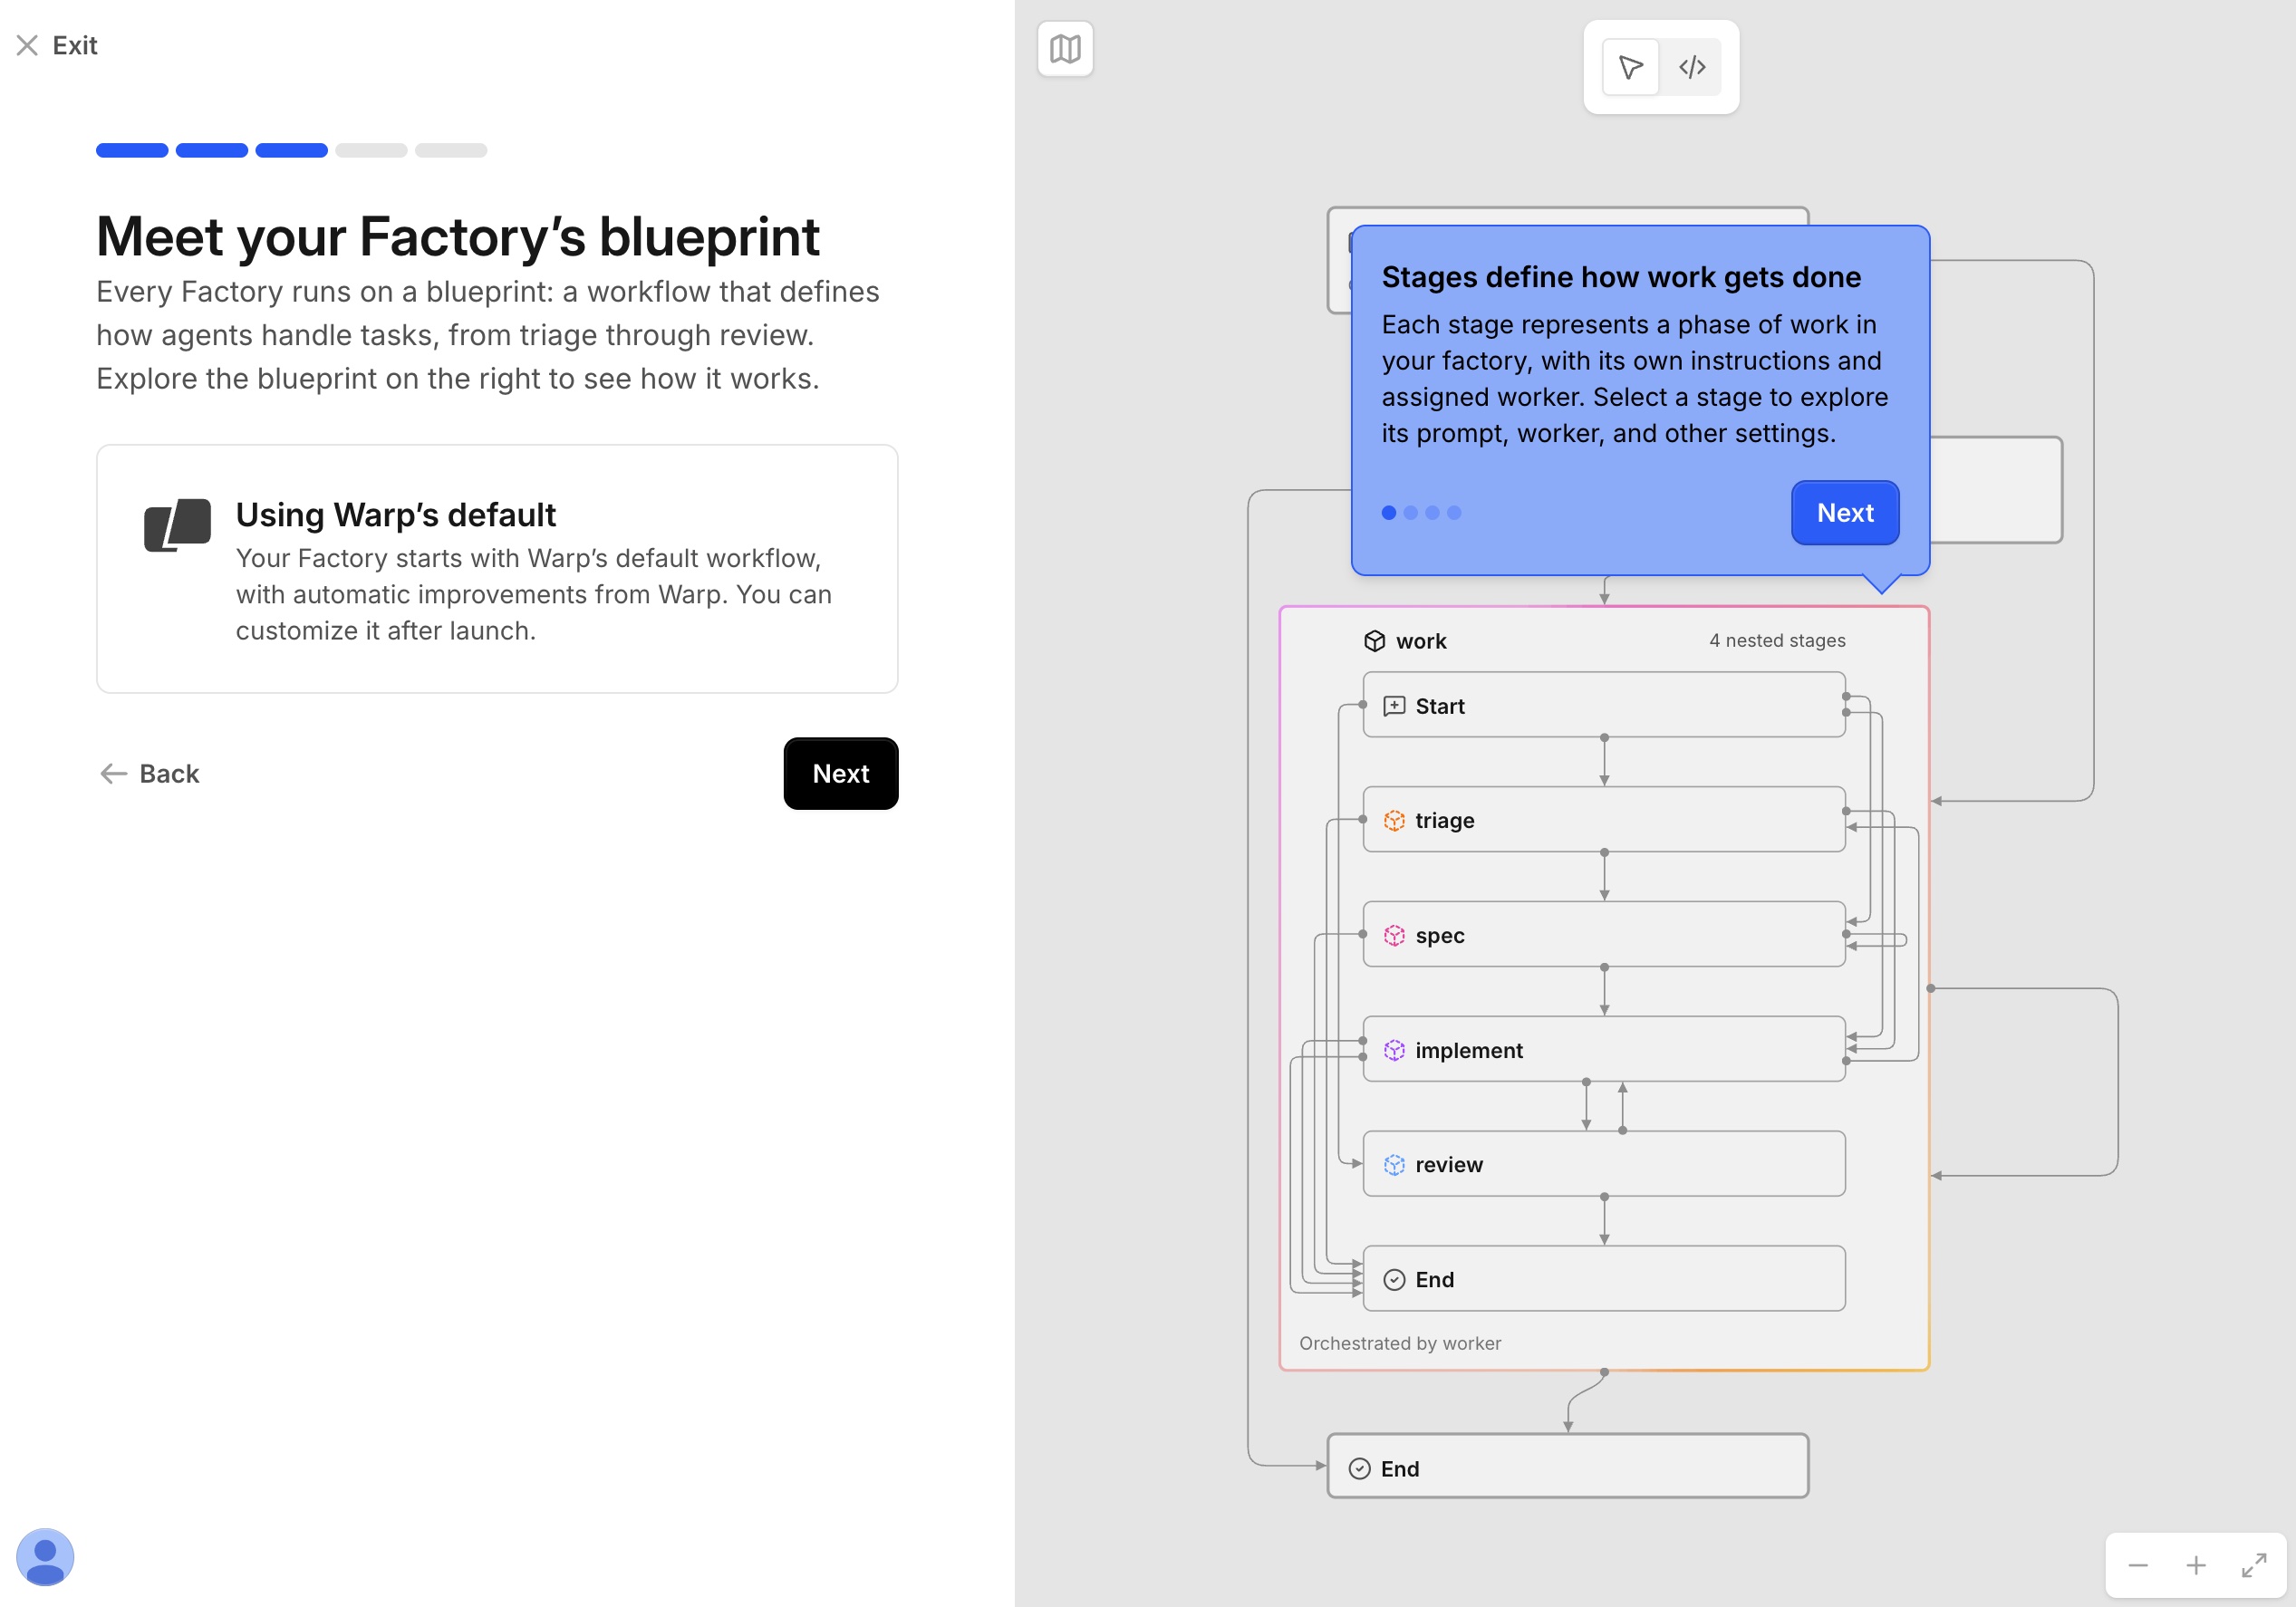
Accept the default blueprint for now; we'll customize it in Unit 2. Connect your chat and issue tracker, or skip for now
Next, you'll have a chance to connect the factory to where your team works. Both of these are optional, and you can always connect them later:
- Chat: You can connect Slack or Microsoft Teams so teammates can @-mention the factory directly. Our tutorial only requires the built-in online factory chat, so you can skip this step.
- Issue tracker: You can connect Linear or Jira (or webhooks for another service) to pull tasks from a backlog. For this course, we'll skip this step and use GitHub Issues.
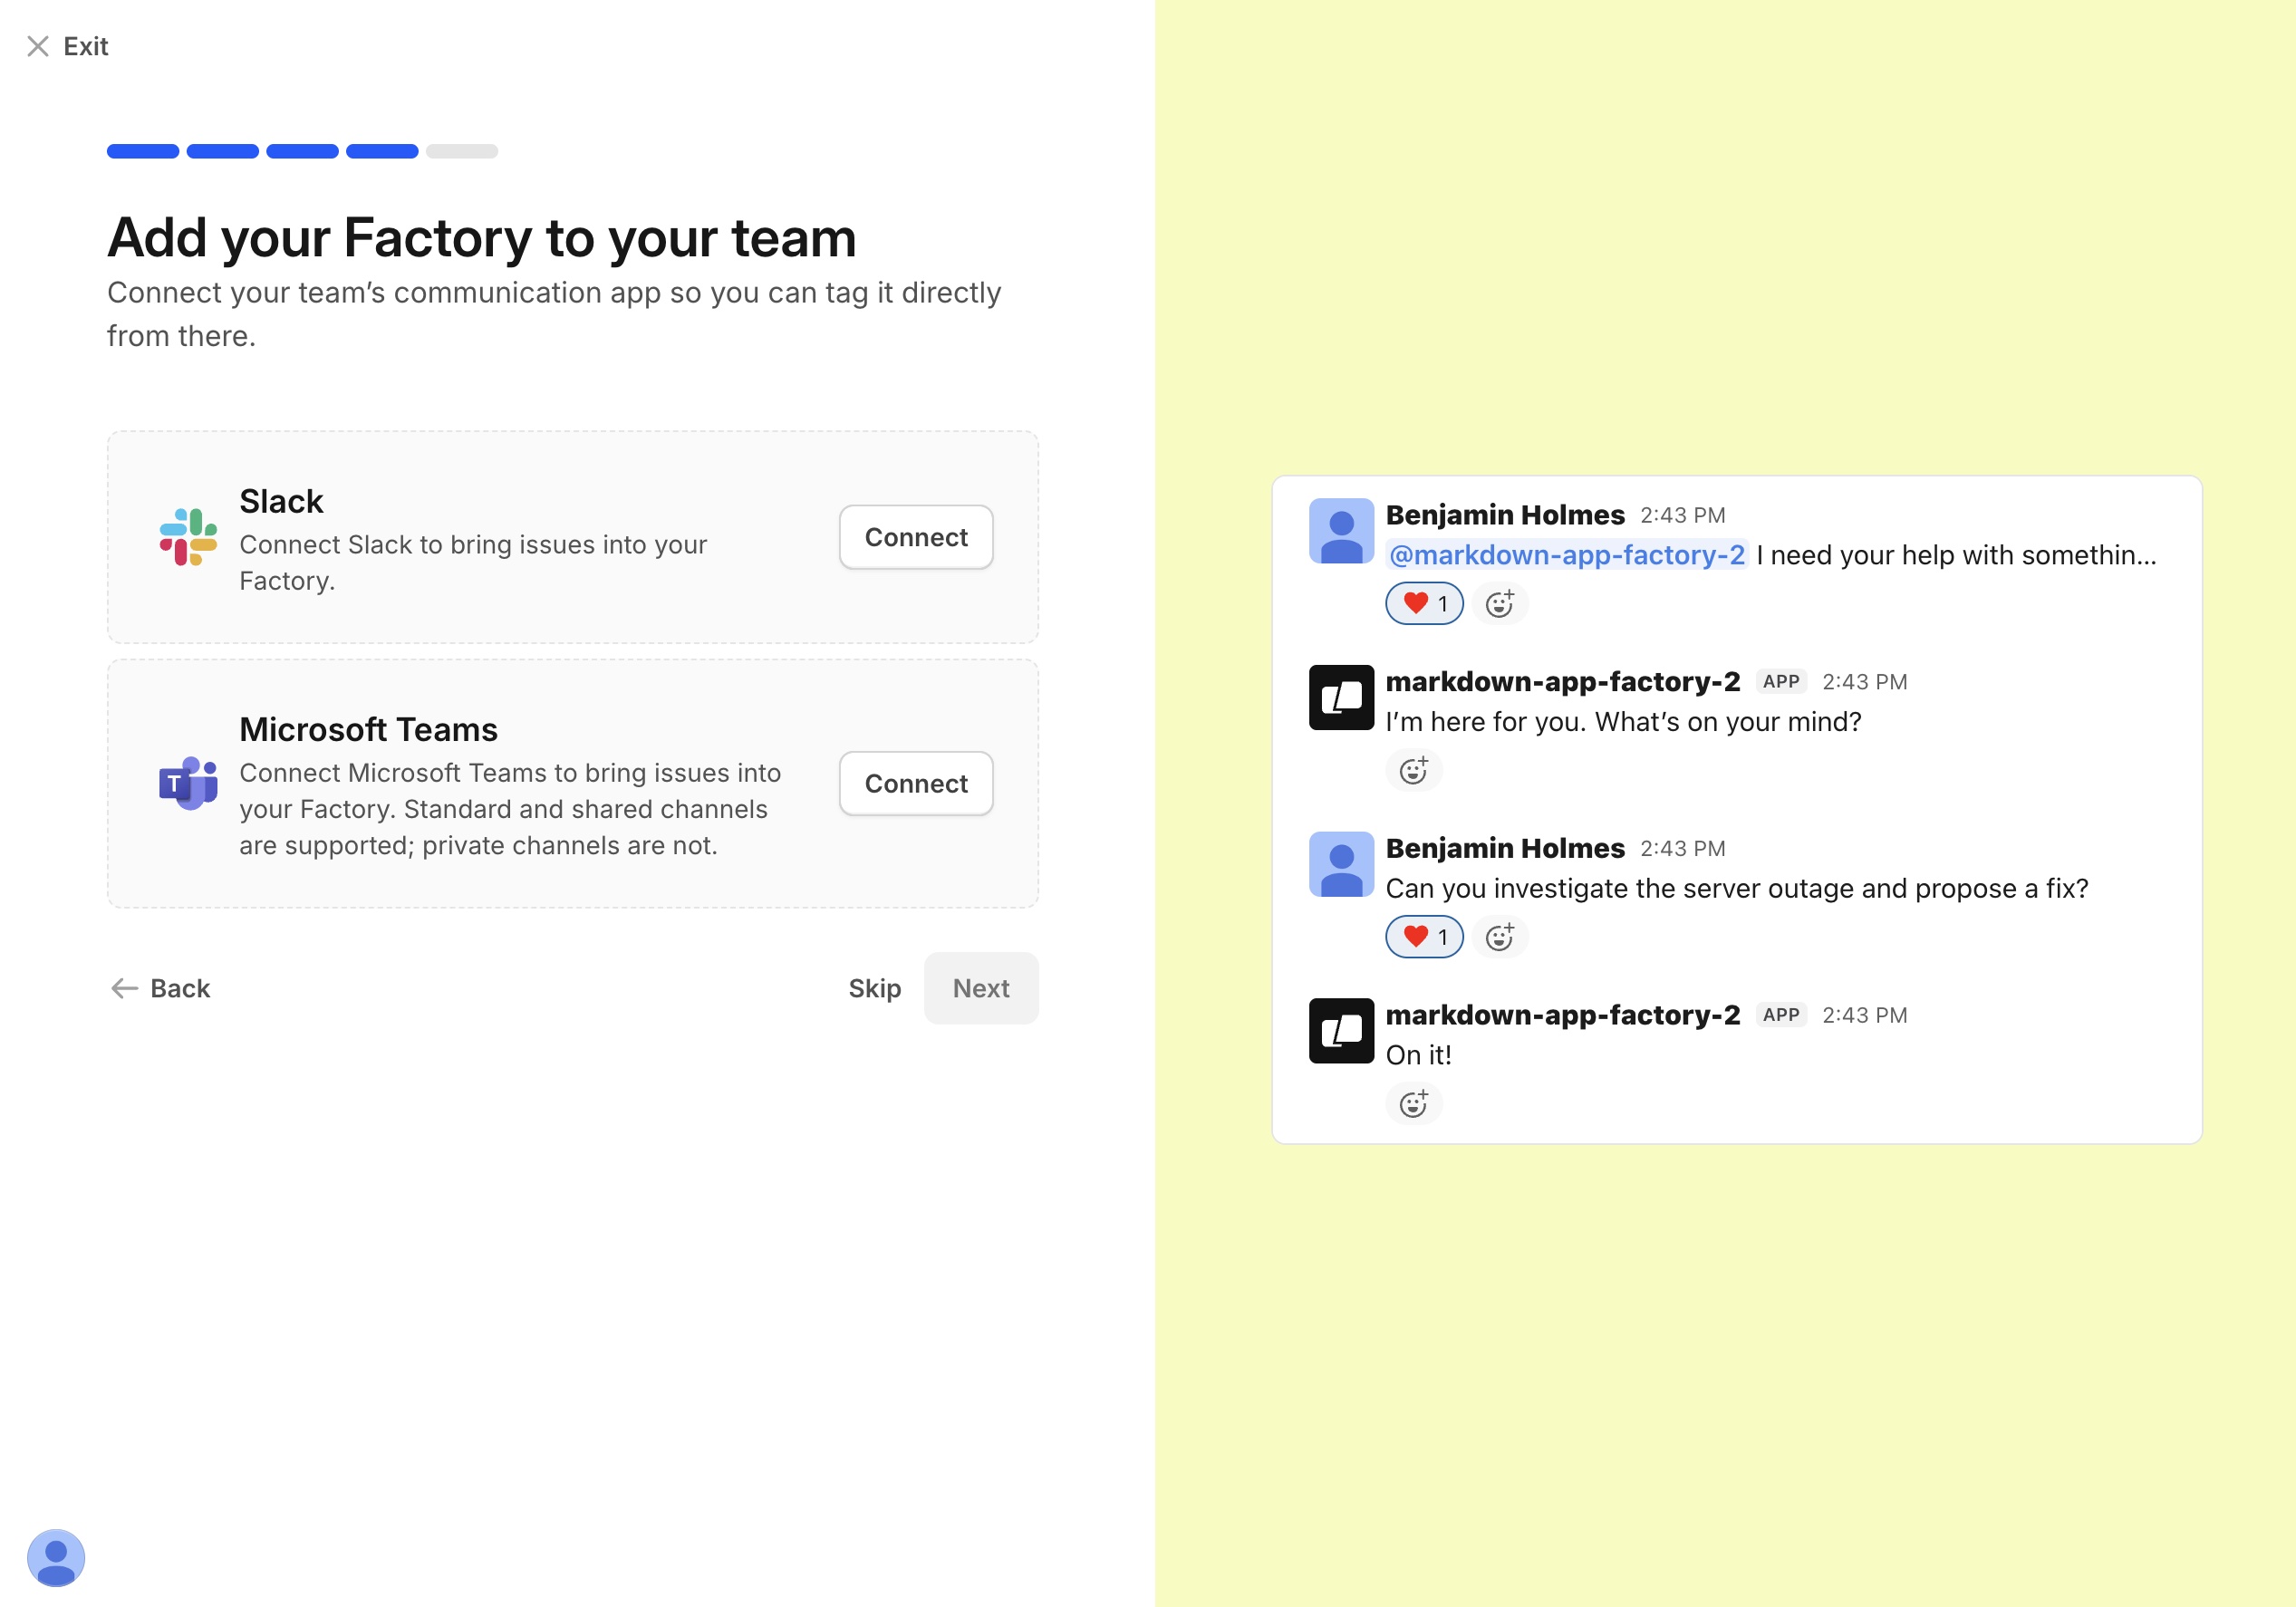
Skip chat for now; the built-in factory chat is all this course needs. 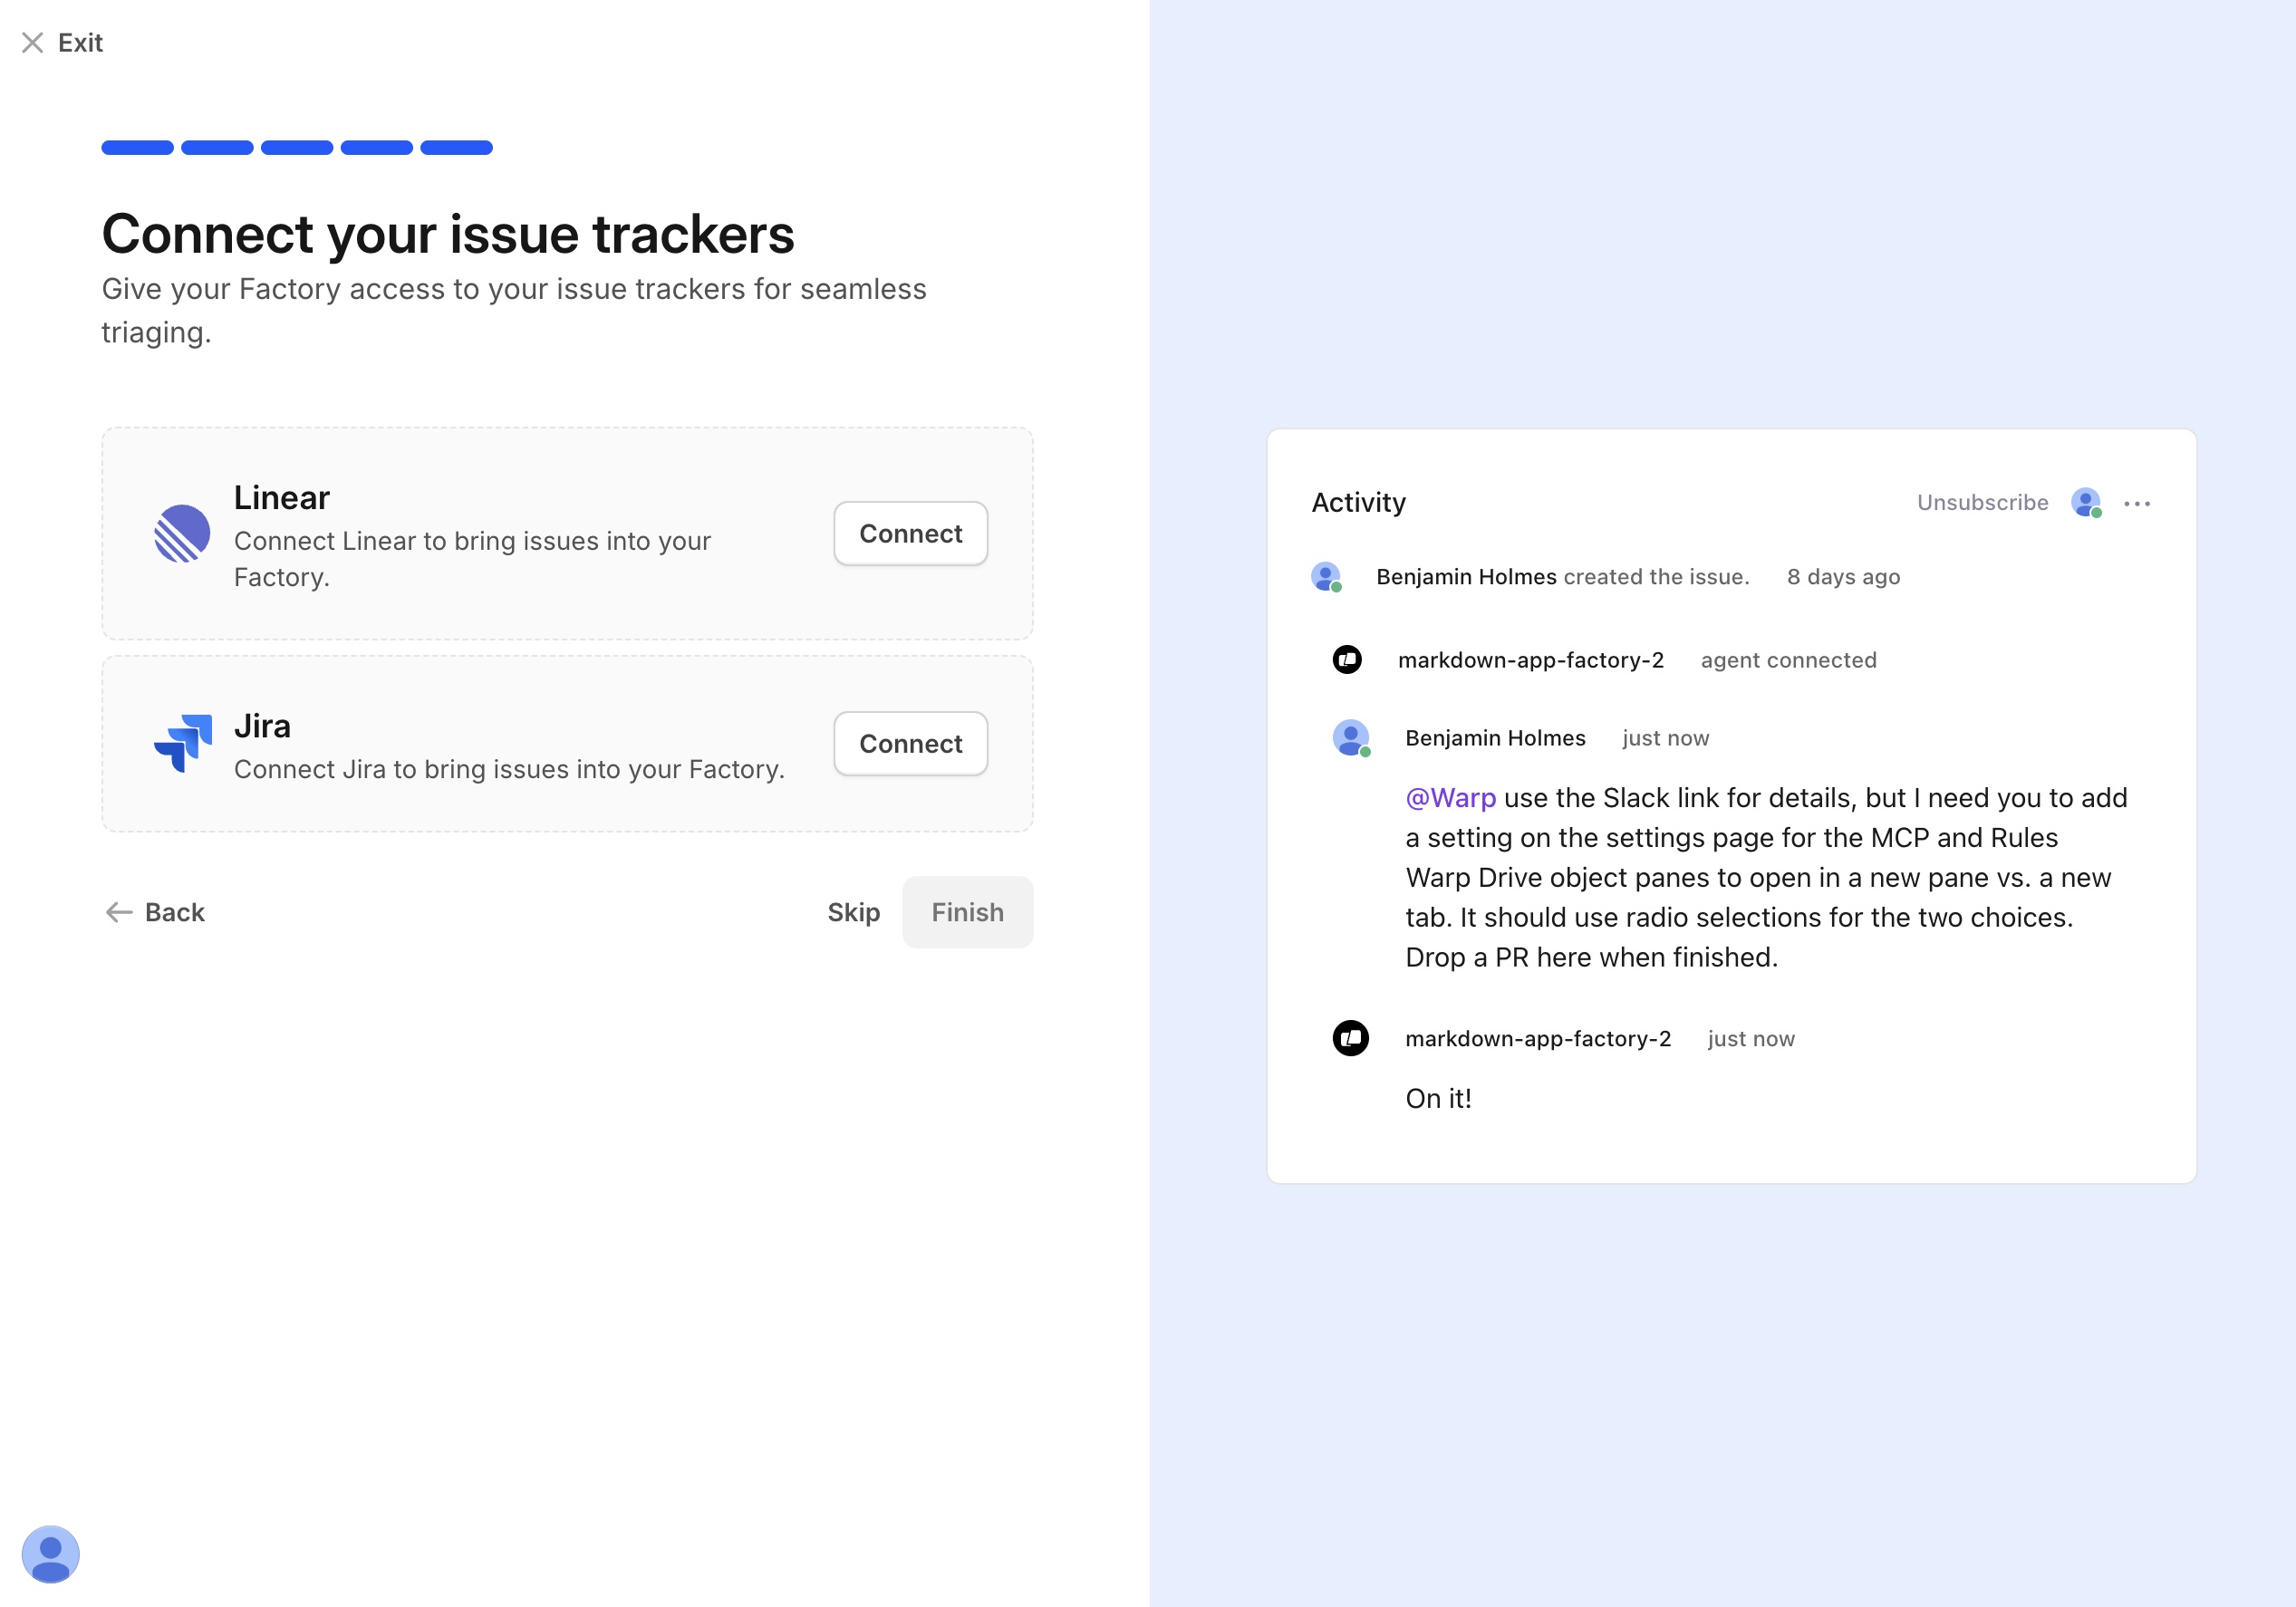
Skip issue trackers too; we'll use GitHub Issues. Configure default models and disable self-improvement
Click Finish, and you'll land on the Factory running! screen. Here, you can control the default models your factory uses. We've made sure the entire course works well with the More cost-efficient option, though you're welcome to try higher-quality presets or pick a custom model.
Also, turn off self-improvement for now. We'll learn all about how self-improvement works in Unit 3.
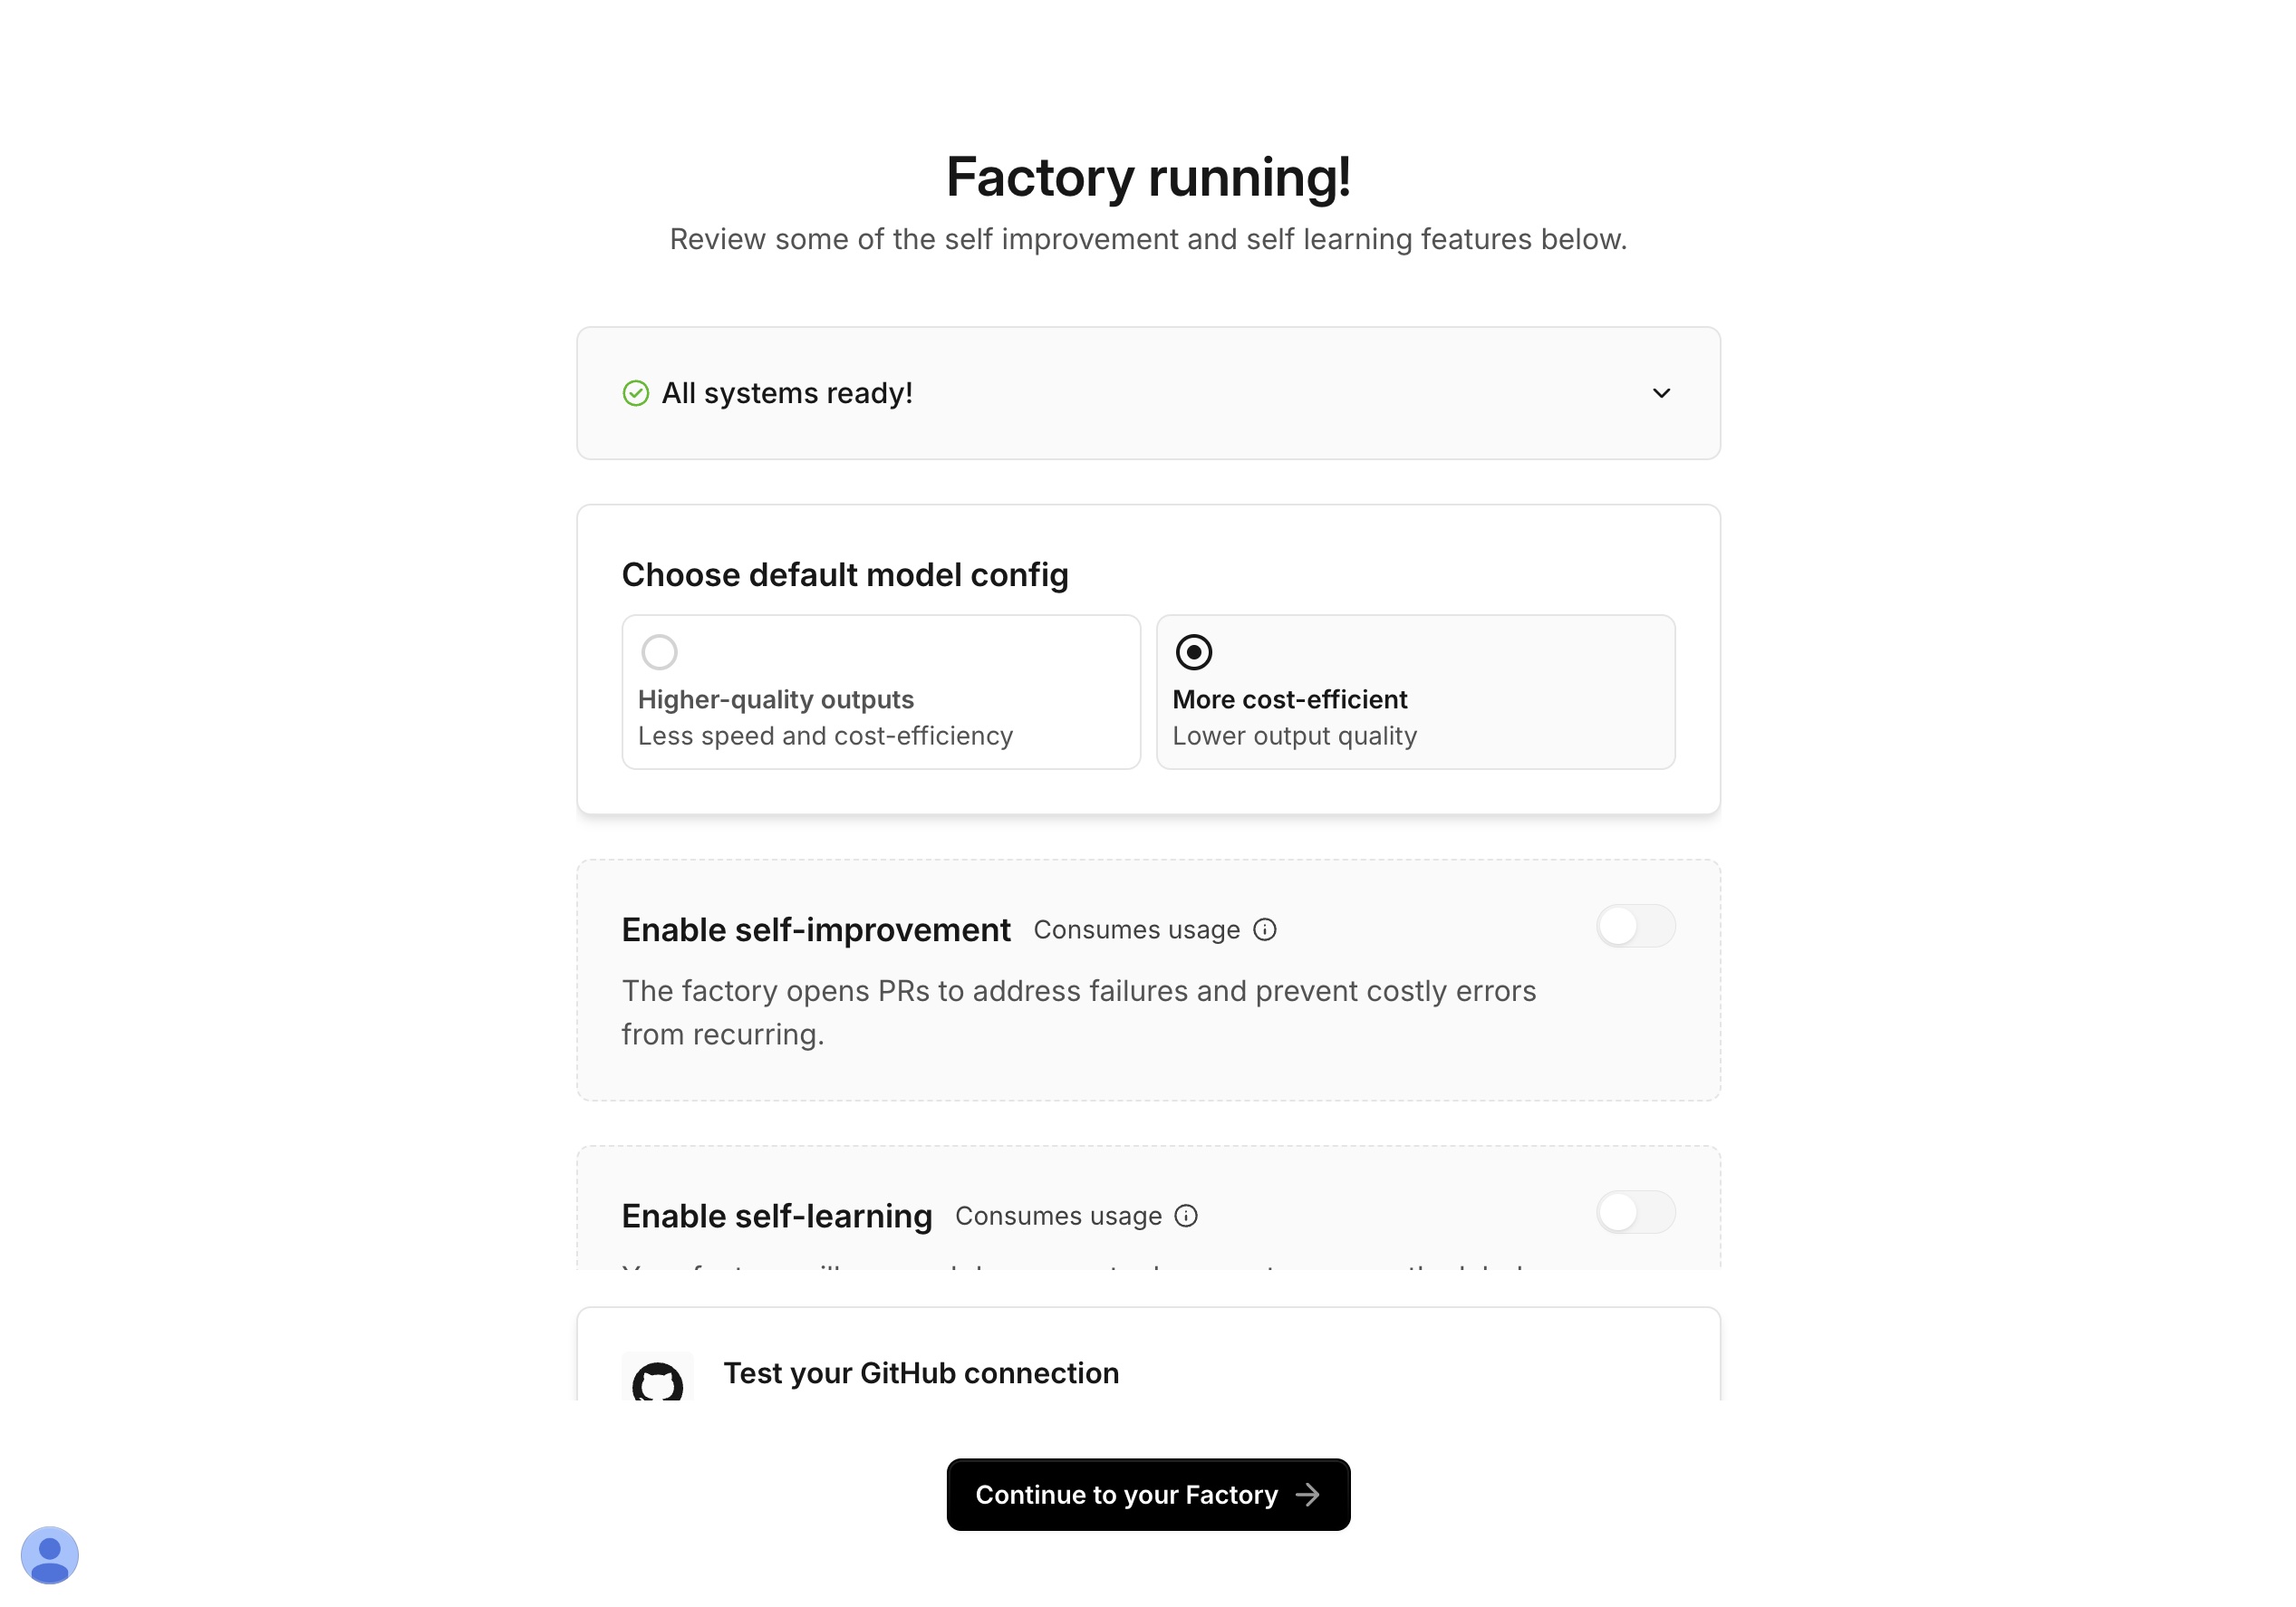
Pick the cost-efficient preset, and turn self-improvement off for now. Click Continue to your Factory, and you'll land on your new factory!

Send your factory a message
Send a chat message to your factory to make sure it's working. Open New Chat, make sure your factory is selected, and send this prompt:
Outline the factory definition files for me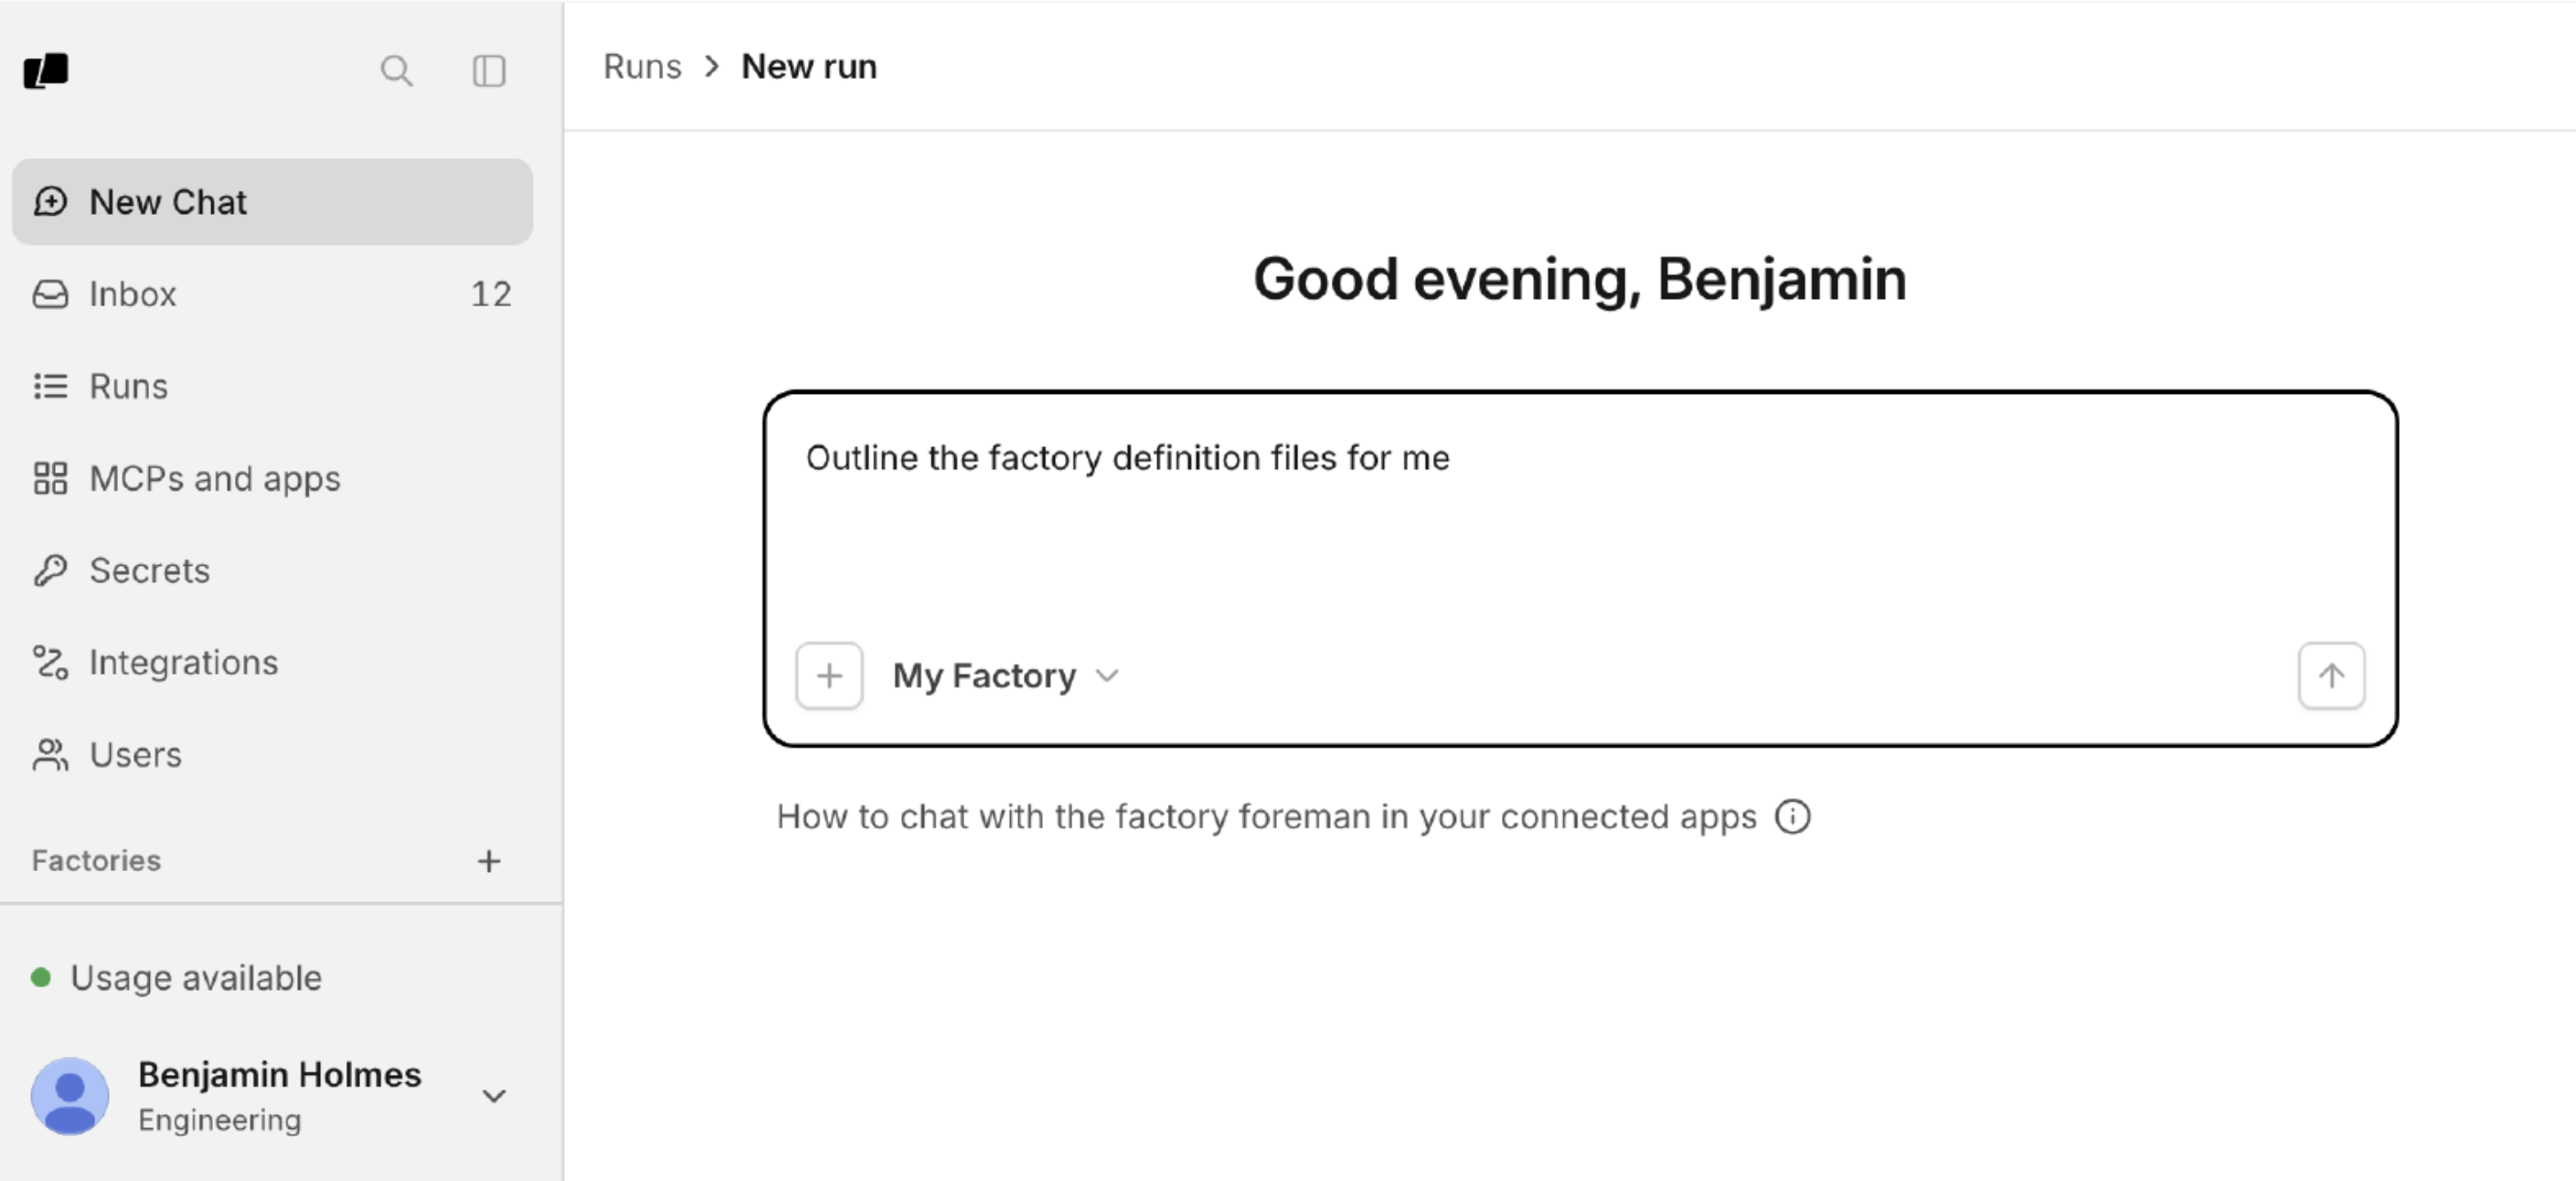
With any luck, you should see a summary of all the files in your factory.
Let's dive into each of these in detail.