Connect an issue backlog
What we’ll cover
Connect a backlog of real issues to your factory to see how it performs under load.
Now that we kicked the tires on our factory, let's start sending some real workloads through it. We'll connect our factory to a backlog of issues, ranging from simple bug reports to larger feature requests.
Prompt
Someone labels a GitHub issue factory, and an automation starts a task at the implement stage. Requests from chat still work too.
Add your first automation
Let's start by adding our first automation to intake issues. We'll use GitHub to track and label issues, but you're welcome to bring a taskboard of your own as well. Warp Factories supports Linear and Jira out of the box, with webhook support to connect to other services.
Add an issue automation
Start by creating a new file under
automations/in your factory definition with the conventionautomations/NAME/automation.md.This automation fires when any issue on your repo gets the
factorylabel, and passes on the issue details to your factory. To ensure your factory has access to these issues, be sure to use the organization and repo you're using for your factory (example:my-org/my-markdown-app).automations/github-issues/automation.md --- triggers: - provider: github event: issue_labeled filter: repos: [YOUR_GITHUB_ORG/my-markdown-app] labels: [factory] skip_bots: self --- Use the issue that triggered this run as the request: - author: the requester - URL: the issue this work tracks; link the pull request on it - title / body: the description to followIf you skipped connecting Linear during factory setup, connect it first from your factory's Settings (which adds
- type: linearunderintegrationsinfactory.yaml).This automation fires when an issue is created in your Linear team, and starts a task with the issue as the request. Replace
YOUR_LINEAR_TEAM_IDwith the UUID of the Linear team that will hold the backlog (open the team in Linear, pressCmd/Ctrl+K, and run Copy model UUID), or useteams: [YOUR_TEAM_NAME]to match by team name instead:automations/linear-issues/automation.md --- triggers: - provider: linear event: issue_created filter: team_ids: - YOUR_LINEAR_TEAM_ID --- Use the issue that triggered this run as the request: - author: the requester - URL: the issue this work tracks; link the pull request on it - title / body: the description to followSave your automation so every new issue filed in that team starts a factory task.
Seed the backlog
Now, let's bring some issues into that backlog. We've created 10 sample issues on the Markdown App template repository that you can copy into your own taskboard.
Check out your code repository locally (the one that's connected to your factory). Install the dependencies if you haven't already, then run the
seed-backlogscript. This script copies over those issues into your repository, and applies a newfactorylabel across each of them to kick off the factory automation. Ensure this label matches the label you set up in your automation:bash pnpm i pnpm seed-backlog --label factoryTo copy these issues to Linear, you can either ask your agent to do so using the Linear MCP, or use Linear's GitHub issue import tool.
To use the import tool, the issues first need to exist on a GitHub repository that you own. Check out your code repository locally (the one connected to your factory), install dependencies if you haven't already, and run
seed-backlogwithout--label:bash pnpm i pnpm seed-backlogThen follow Linear's GitHub import guide using your repository as the source, and import into the Linear team that your automation watches. Make sure you saved your Linear automation first so each imported issue triggers a run as it lands.
Watch the runs
Now, head to the "Runs" tab of your factory, and you should see 10 new tasks roar into life. You can track the progress and resulting PRs from here.
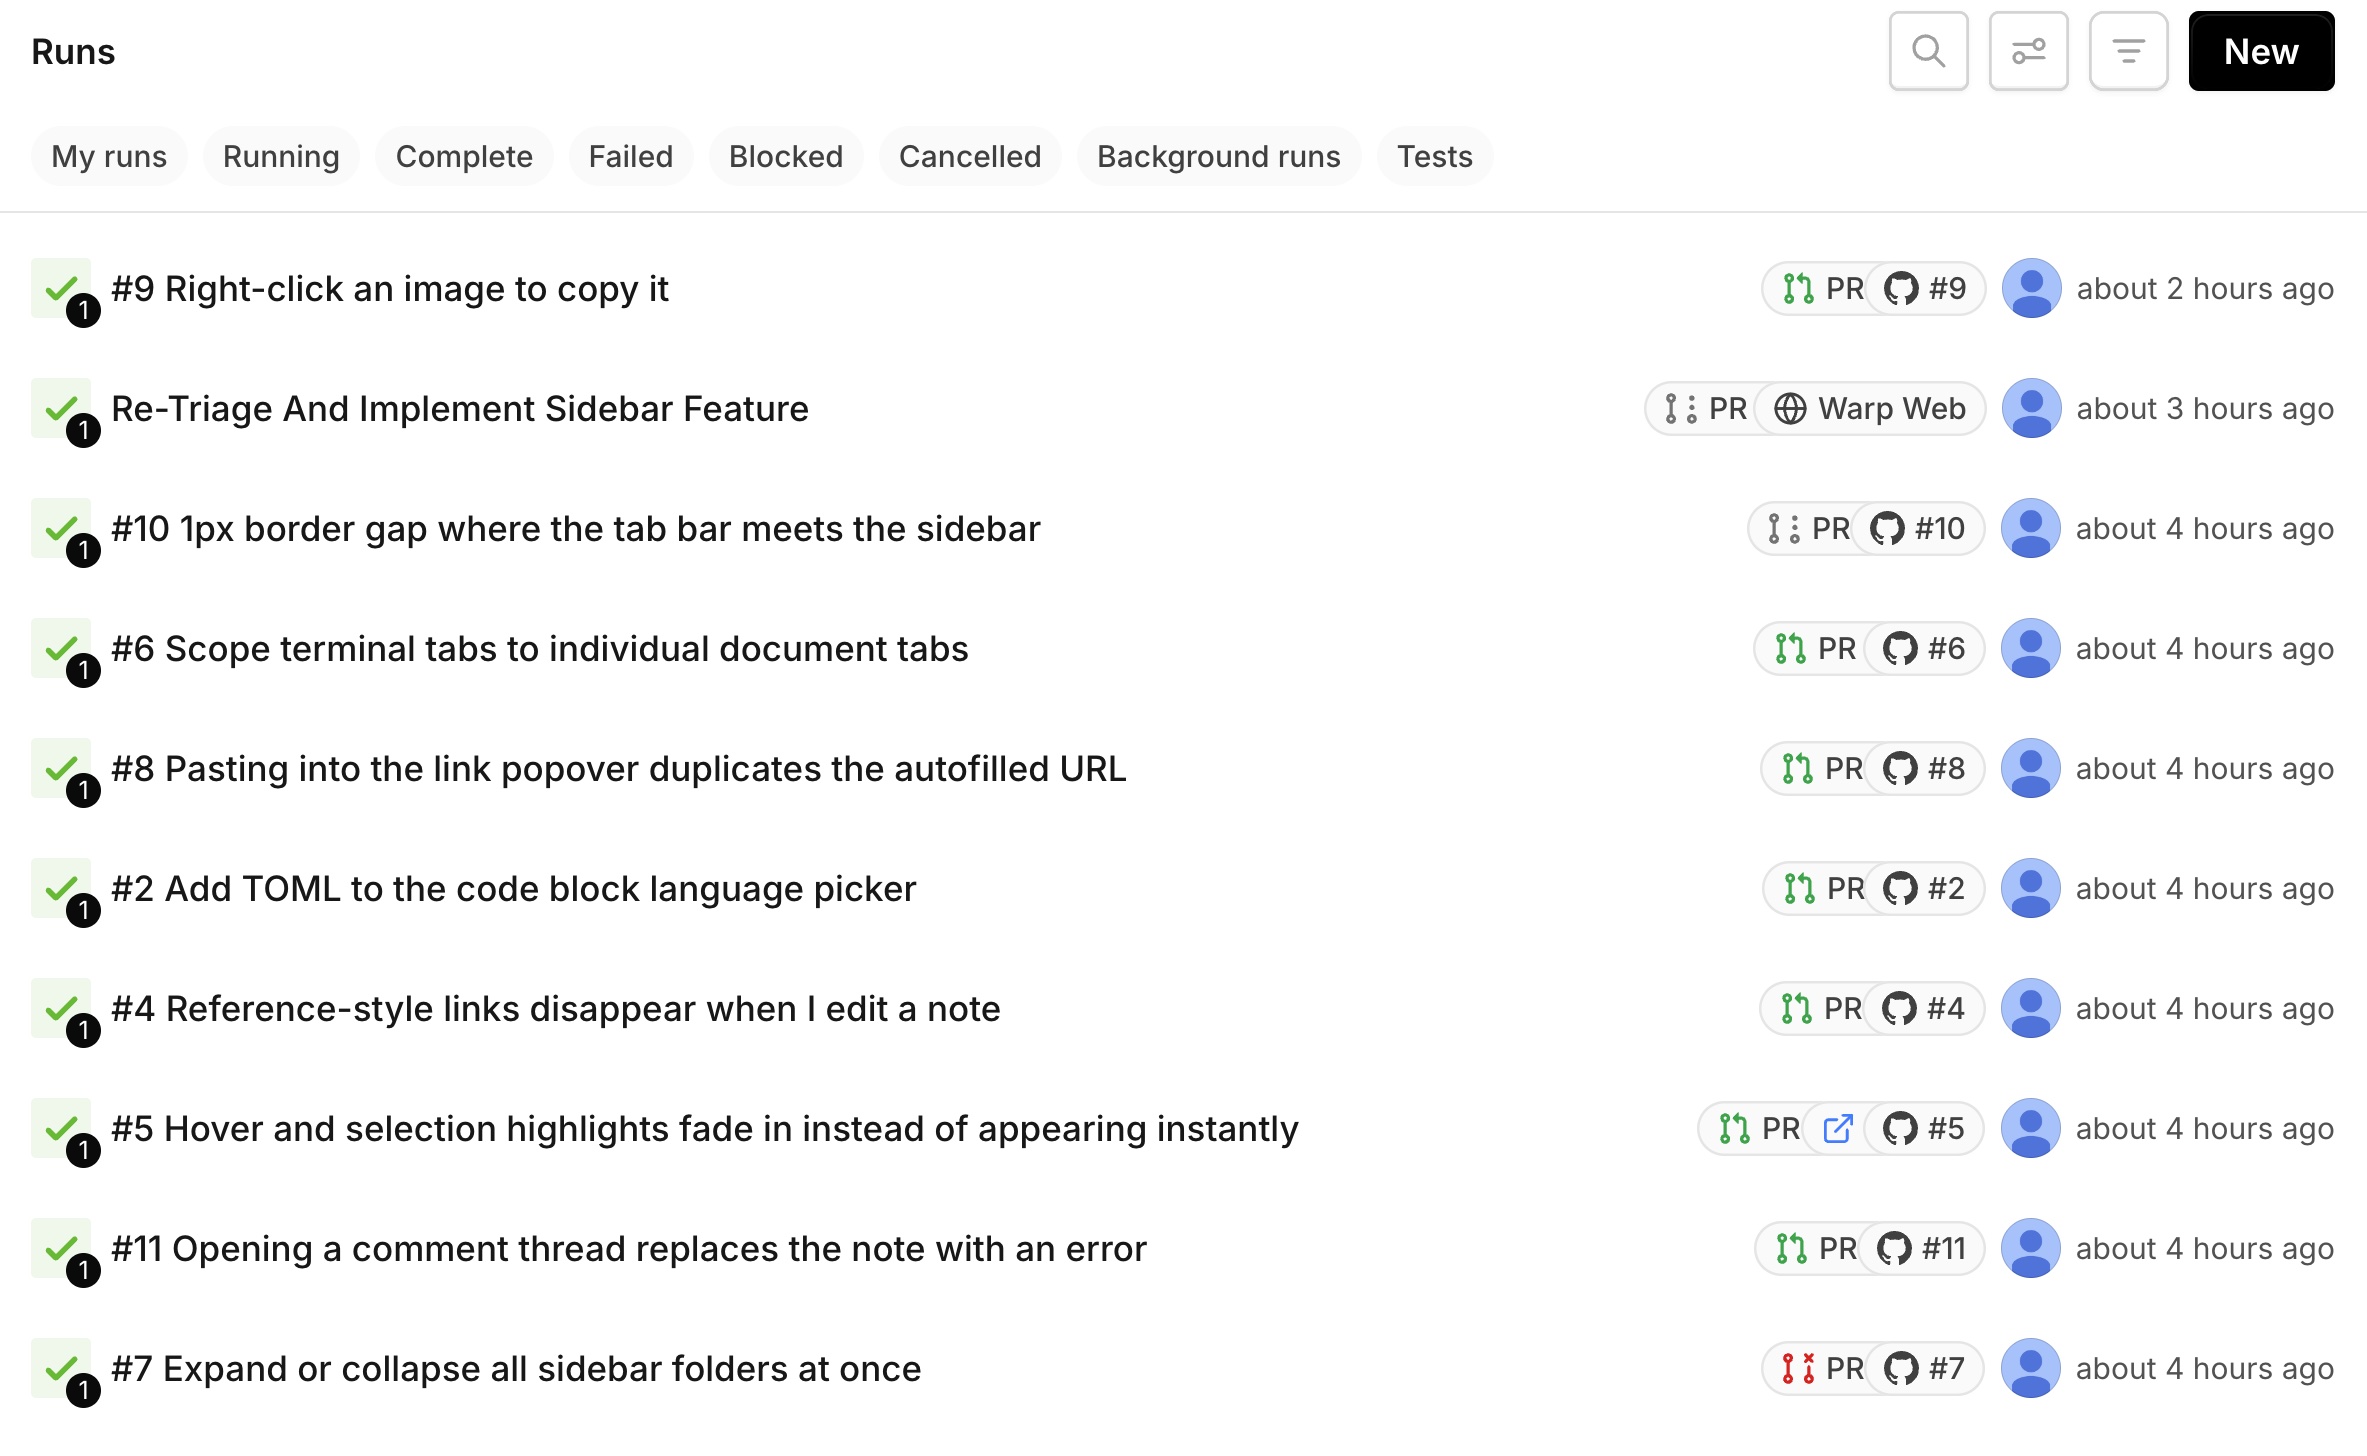
One task per labeled issue.
Review the output
Once these tasks finish, you can review the output to see how your workers did. Don't merge these changes yet! We'll be revisiting a few of these PRs in the coming lessons.
You can try checking out these branches yourself to see how they behave, and review the pull request descriptions to ensure that static checks ran as expected.
This is great for one-off bug fixes like "add TOML support." But you may have picked up on a few problems for feature requests:
- What product decisions did the builder "guess" at, instead of requesting human input?
- What do these changes actually look like (screenshots, recordings, e2e tests)?
We'll address each of these in the coming lessons.