Introduction
Vim (Vi iMproved) essentially differs from other editors by its use of “modes” inherited from vi. Each mode serves a different purpose like editing text, inserting text, running commands, and so on. It is therefore important to understand what they do, how to switch between them, and how they may influence or change the behavior of Vim’s predefined hotkeys. We’ll cover the 7 most frequently used modes any developer should know:
- Normal
- Insert
- Visual
- Command-line
- Replace
- Binary
- Org
Normal mode
The Normal mode is the default mode when launching Vim. It is the one you’ll spend the most time using as it allows you to navigate the text, copy/cut/paste characters, words and lines, but also roll-back actions, and so on.
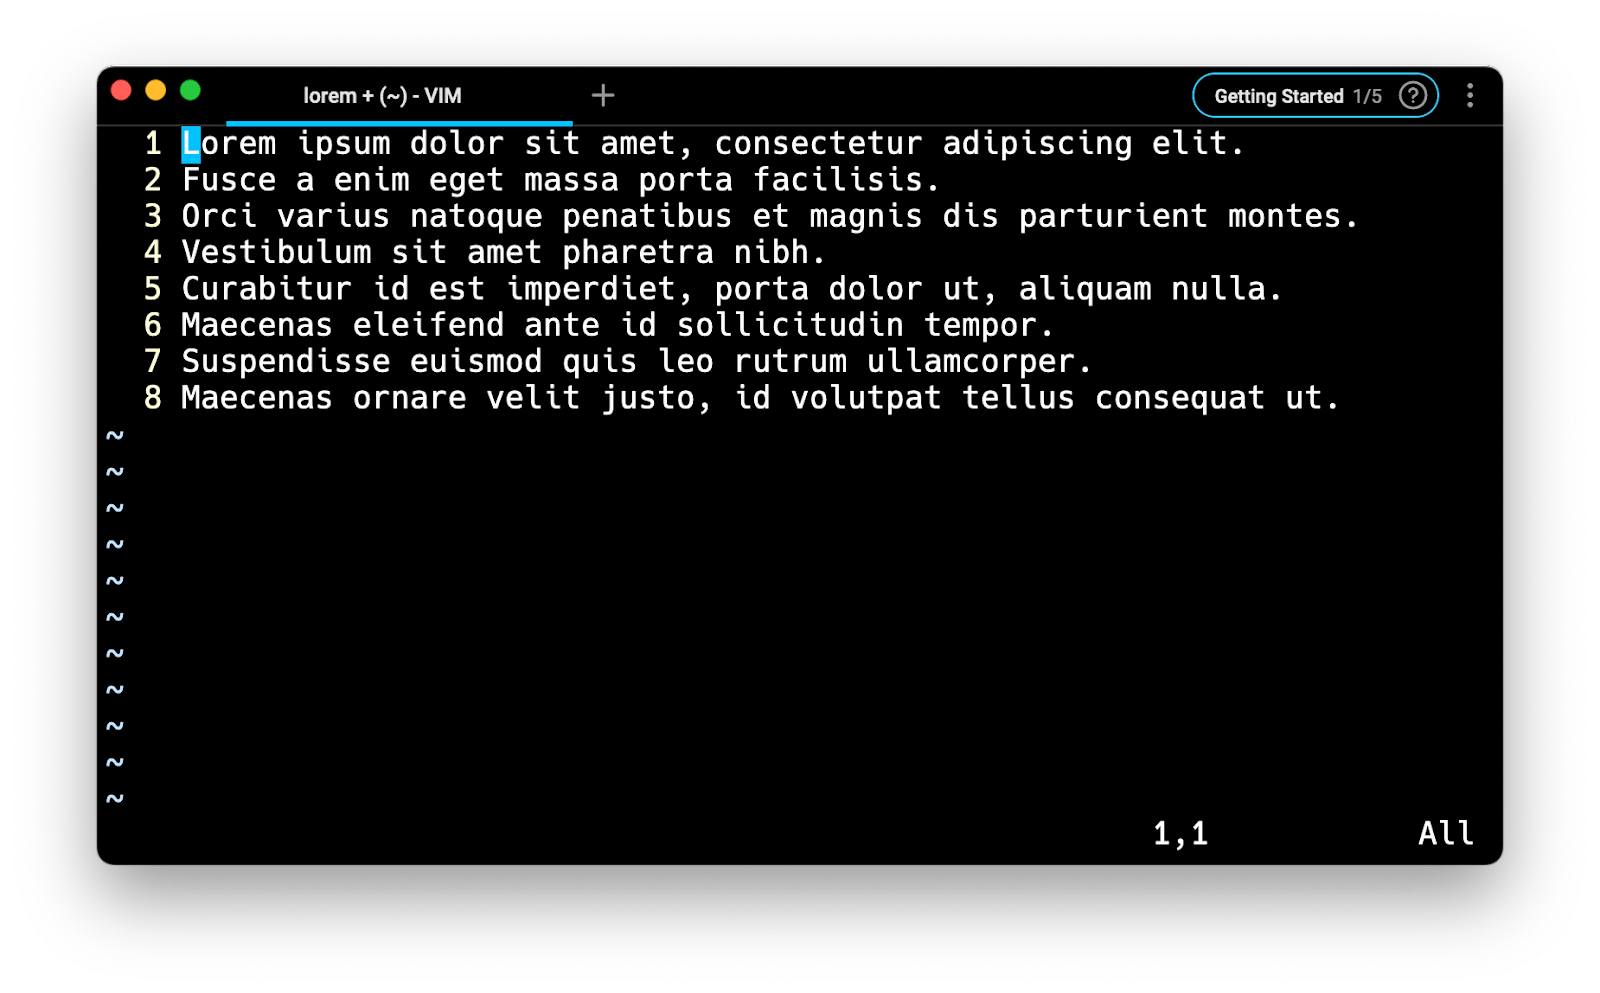
The fastest way to get back to the Normal mode from any mode you are currently in is to press on the <Esc> key twice, which should cause the screen to flash or the bell to ring.
Insert mode
The Insert mode is the one you should be the most familiar with. It allows you to modify the text buffer by typing and removing characters, the same way you would do in most modern text editors.
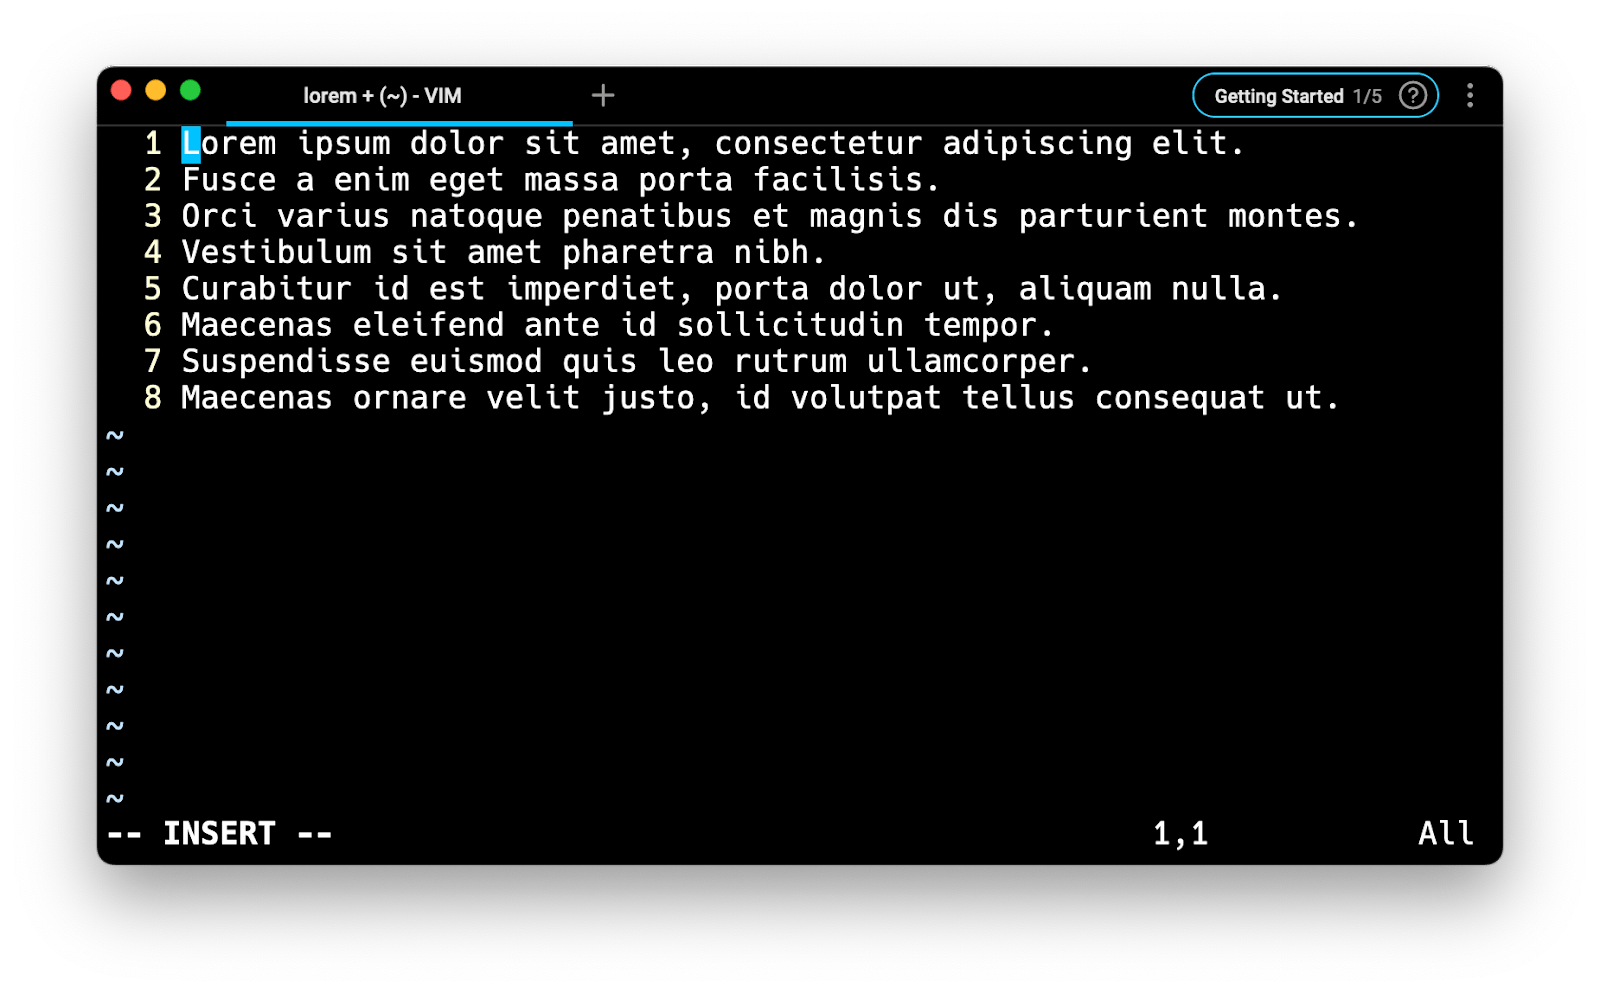
There are 3 ways to enter the Insert mode from the default Normal mode:
- Pressing i (for insert) will directly switch to Insert mode.
- Pressing a (for append) will switch to Insert mode and move the cursor after the current character.
- Pressing o will switch to Insert mode and insert a new line below the line the cursor is on.
Visual mode
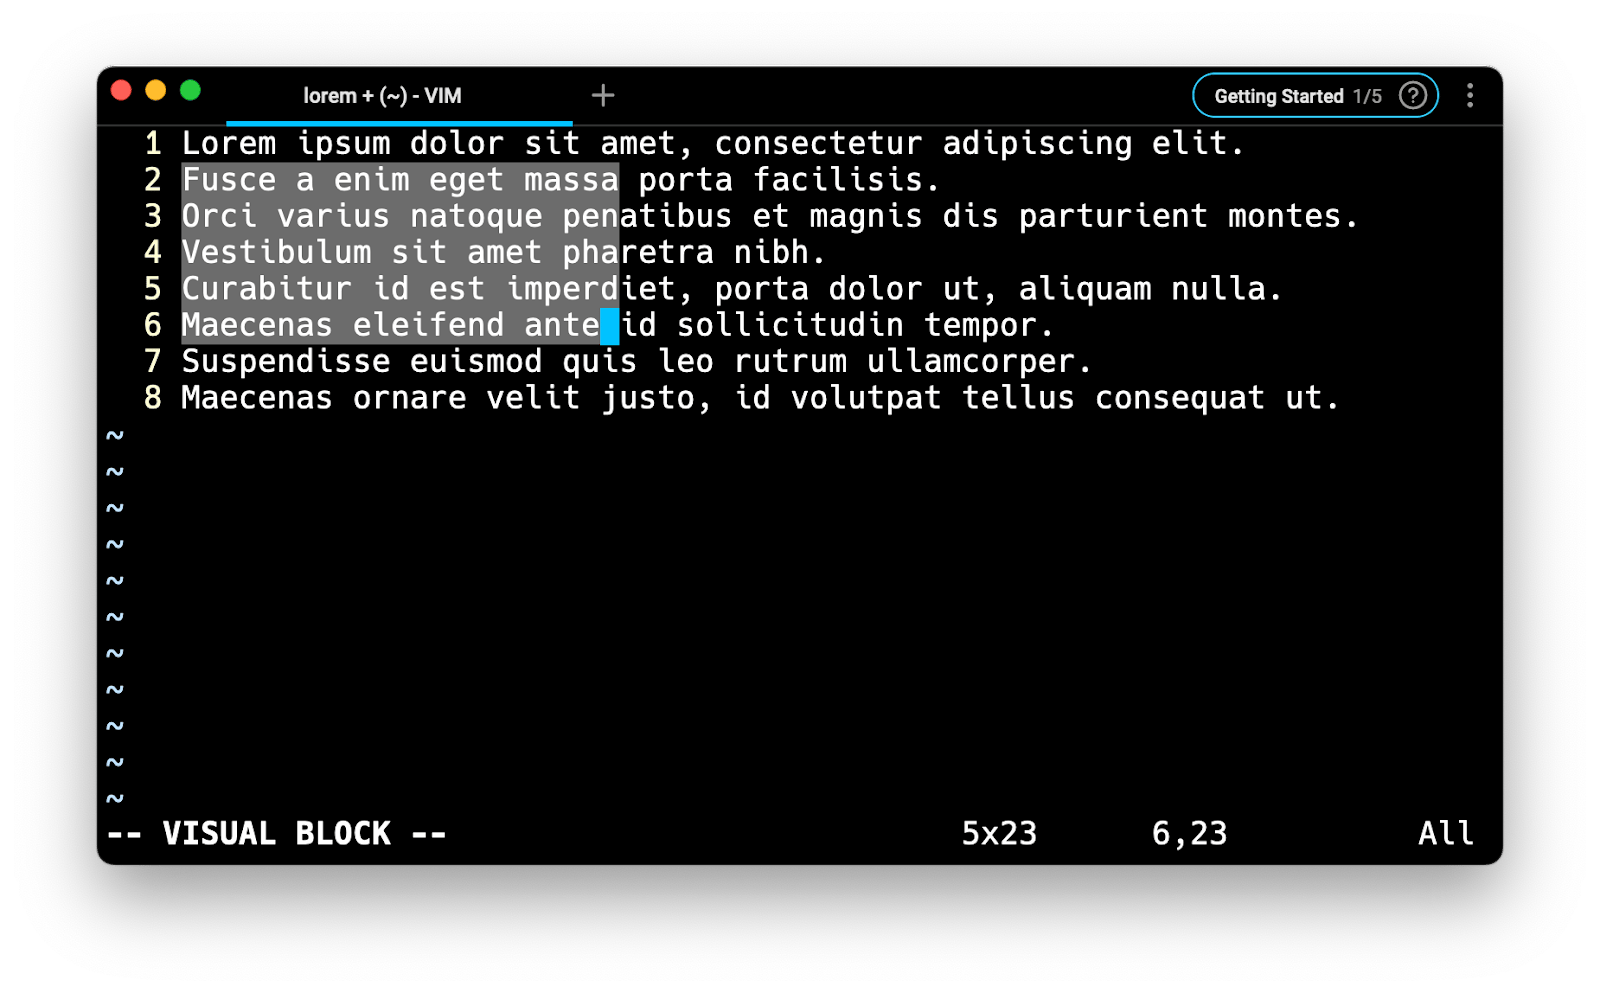
The Visual mode allows you to visually highlight (select) specific text areas and run commands on them.
To enter the Visual mode from the Normal mode, you can press on v—which will mark the beginning of the selection—and then use the arrow keys to move the cursor to the desired end of the selection. You can then use any of the commands available in the Normal mode for cutting, copying, pasting, and so on.
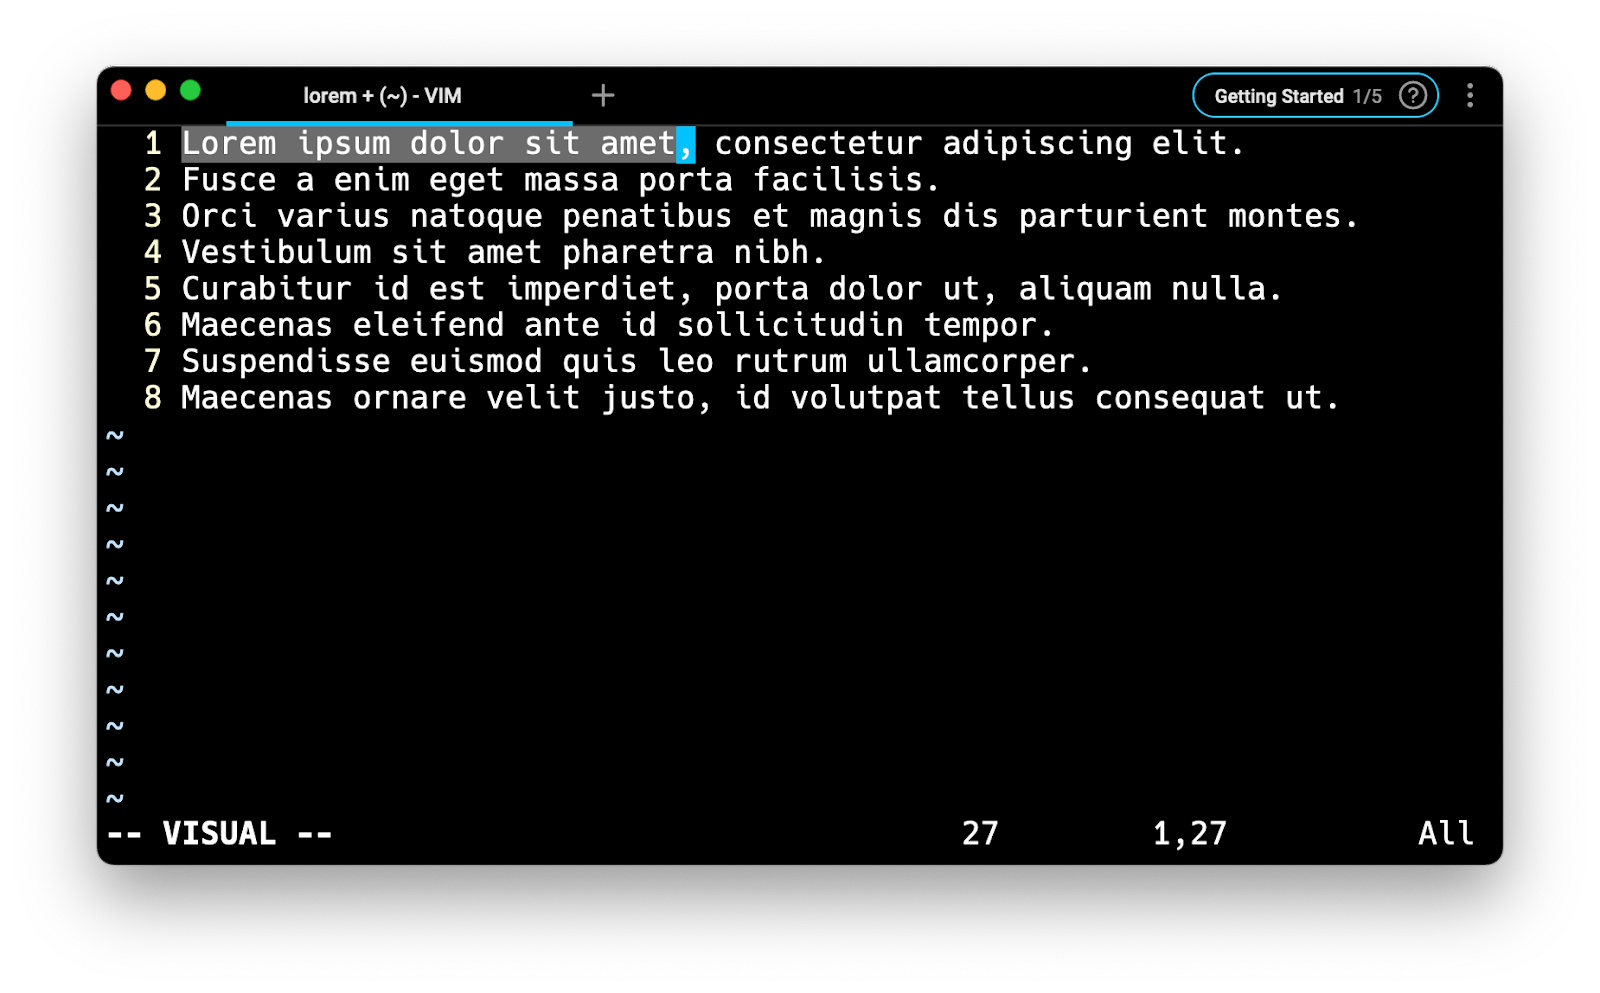
Alternatively, you can also use:
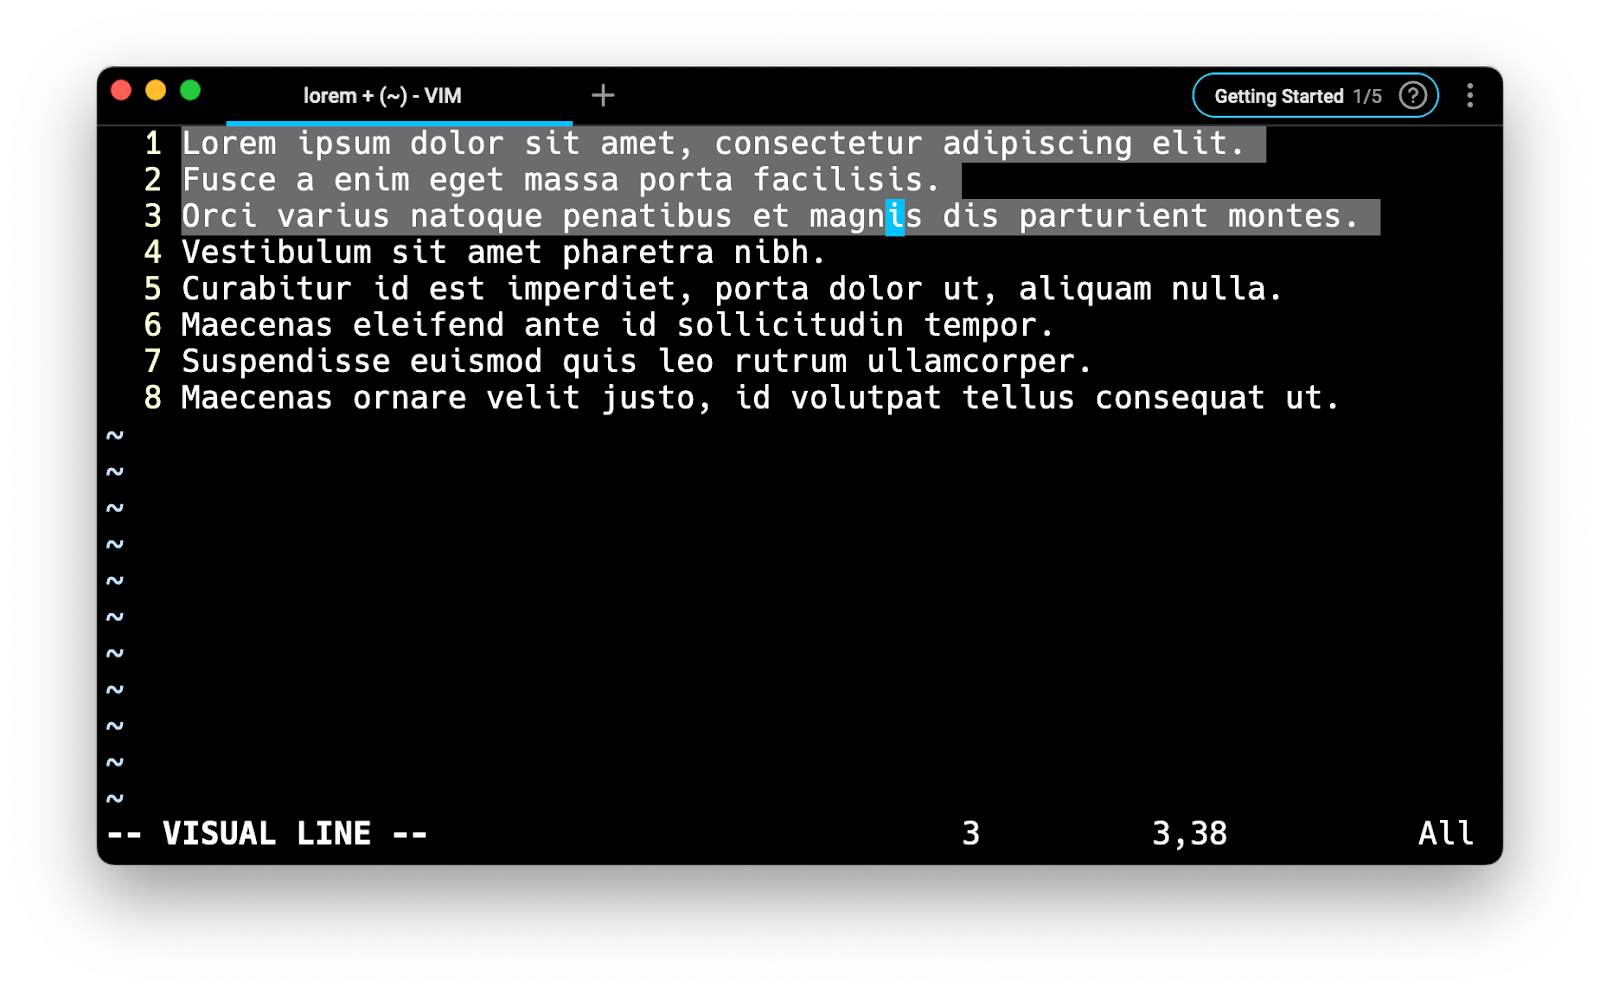
V (for Visual Line mode) which will automatically select entire lines.
<Ctrl> + v (for Block Visual mode) which will select rectangular regions of the text.
Command-line mode
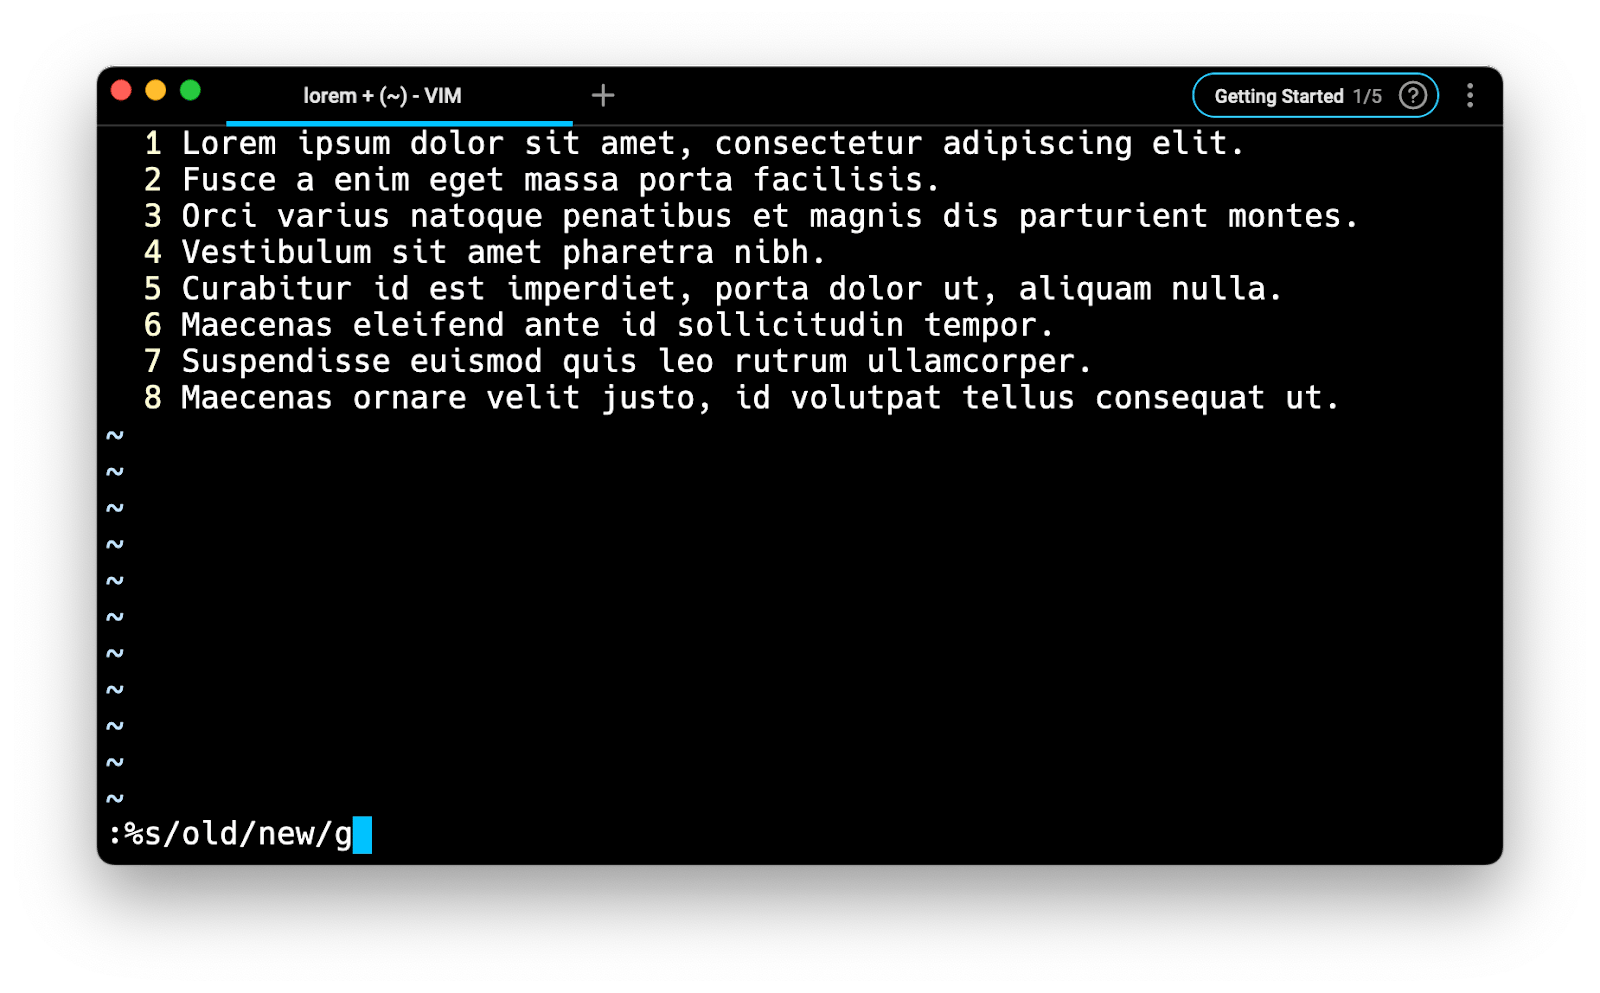
The Command-line mode offers a more advanced way of executing commands that are cumbersome or impossible to perform through the Normal mode. For example searching and replacing, or saving and quitting.
To enter the Command-line mode, you can press on :, which will cause the cursor to move at the bottom of the window in the command box. You can then write any command you like and press enter to execute it.
For example:
- :w (for write) will save the buffer to the file.
- :q (for quit) will attempt to close the program (without saving).
- :%s/old/new/g (for search) will search and replace all occurrences of old by new in the document.
Note that, on completion of the command, Vim automatically returns to the previous mode it was in.
Replace mode
The Replace mode allows you to replace existing text by directly typing over it.
To enter the Replace mode from the Normal mode, you can press on R and start typing characters, which will automatically move the cursor on to the next character.
When you’re done typing, simply press on <Esc> to come back to the Normal mode.
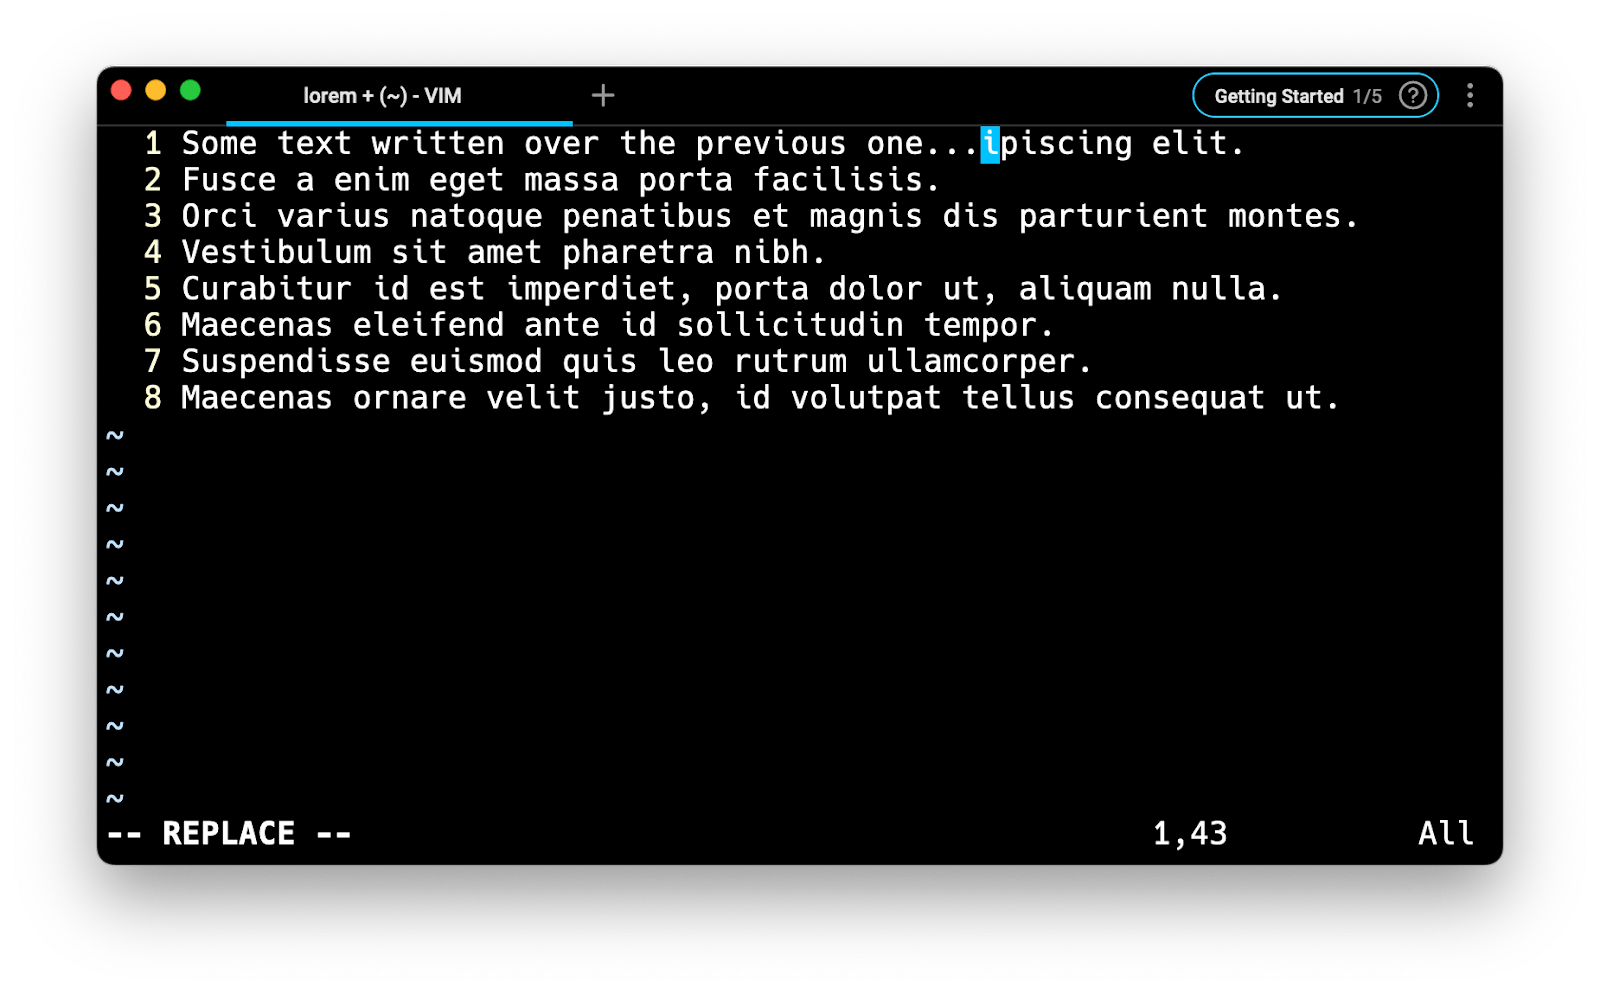
Note that when in Replace mode, hitting <Backspace> will automatically undo the changes and replace the new characters by the previous ones.
Binary mode
The Binary mode allows you to edit binary files, which as a reminder, are files that are not text files and that can be seen as a succession of bytes, such as compiled programs, images, compressed archives, and so on.
To open a file in Binary mode, we can use the -b option flag that will automatically alter Vim’s default behavior by setting the textwidth and wrapmargin properties to 0 as well as turning off the modeline and expantab options.
$ vim -b
One thing to note is that in Binary mode, the <EOL> (end of line) will only be written if it was already present in the original file.
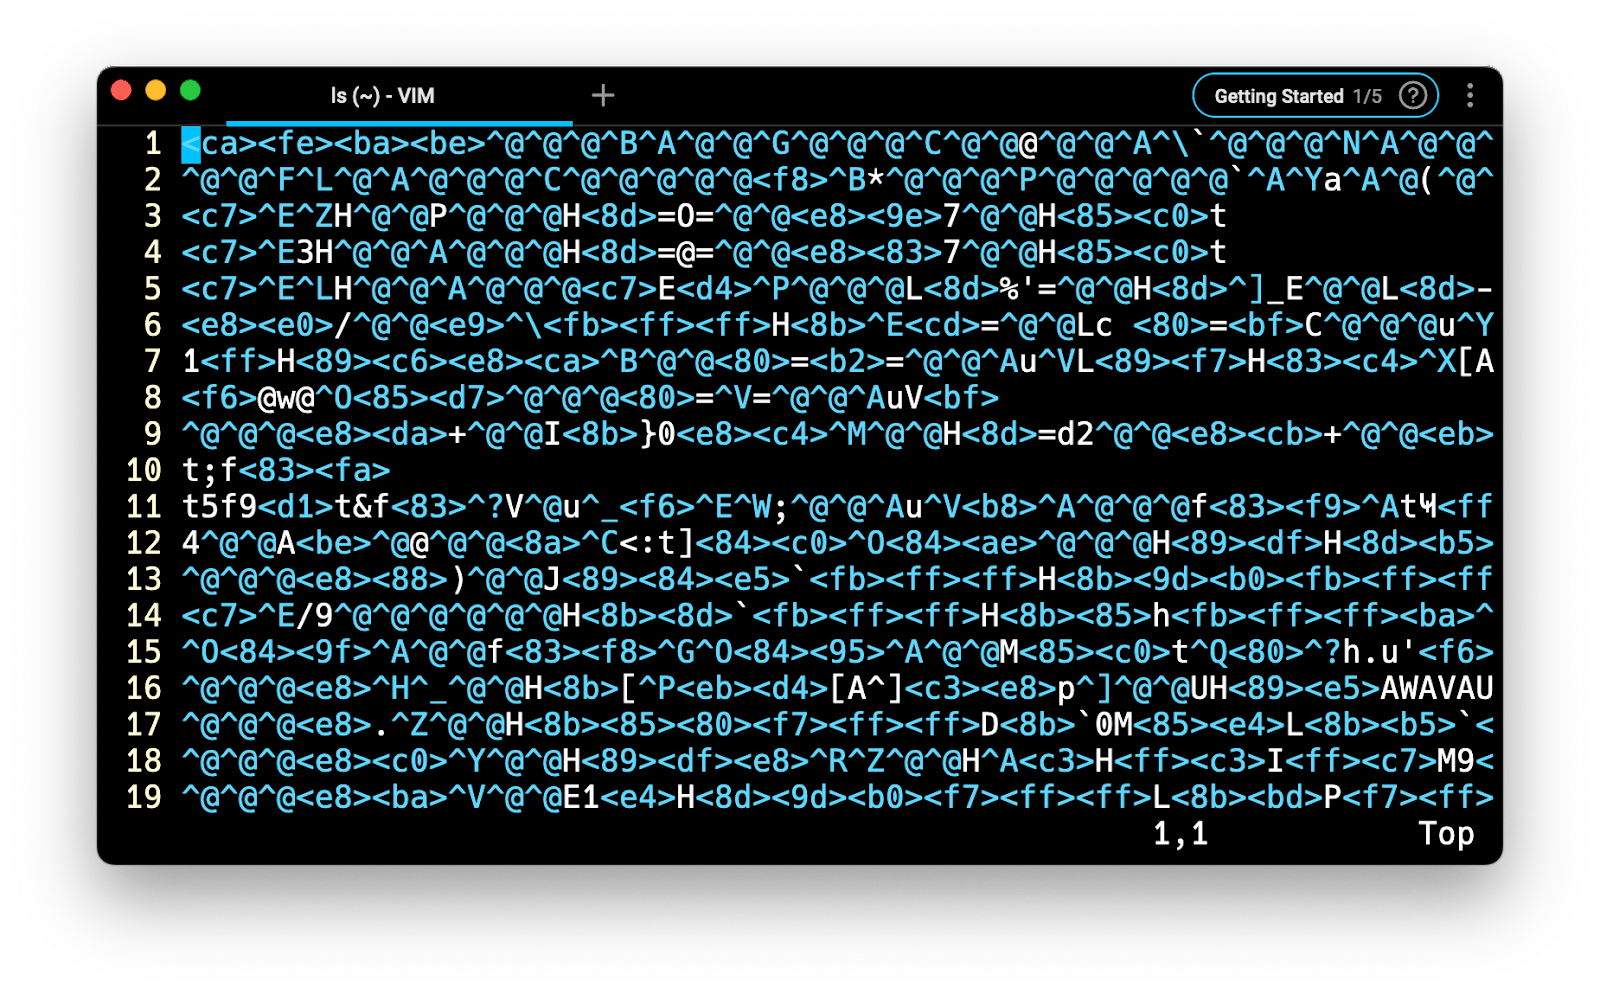
In order to facilitate the modification of a binary file—to apply a patch for example—we can use the :%!xxd command that will replace the buffer with an editable hexadecimal dump where:
- The left column shows the offset of the first byte on each line.
- The middle column shows the bytes in hexadecimal.
- The right column shows the printable characters.
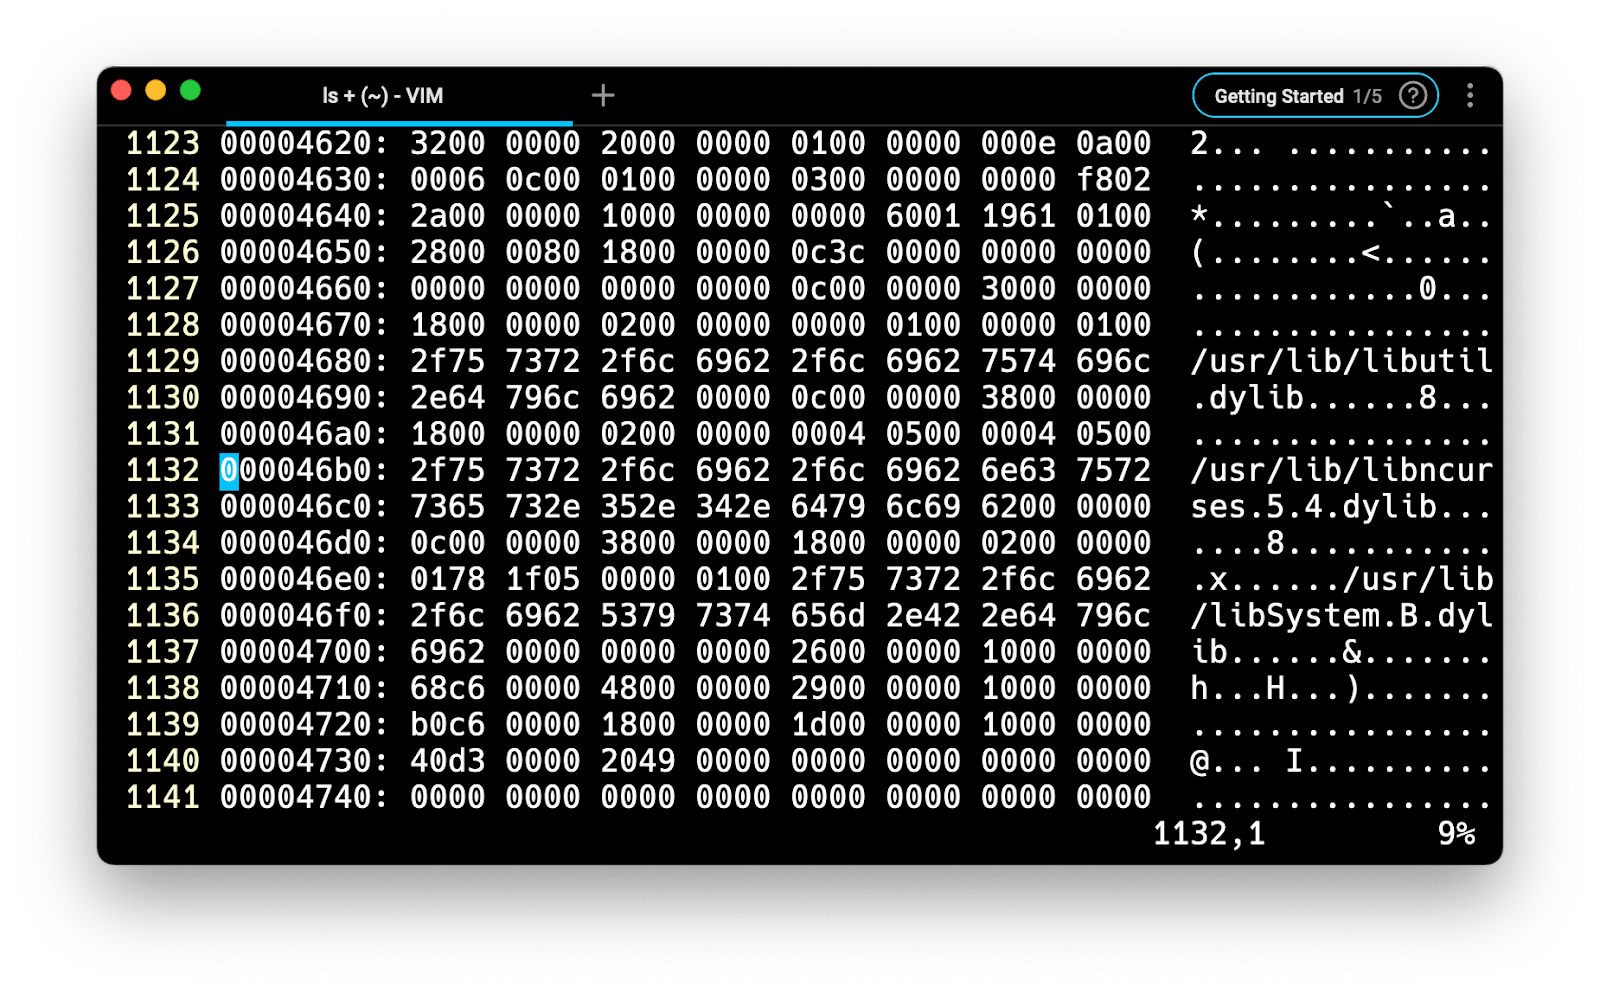
Once you’re done editing the hexadecimal part, you can reverse the hexadecimal bytes to binary using the :%!xxd -r command, and save your file using the :s command. Note that any modifications performed on the right-hand side column will automatically be ignored.
Org mode
Vim-OrgMode is a text and task management plugin for Vim based on Emacs’ Org-Mode. It enhances Vim’s experience by providing support for keeping notes, maintaining todo lists, and planning projects.
Some of these features include:
- Syntax highlighting for displaying the text in different colors and fonts.
- Headlines for creating outline trees making it possible to show or hide parts of the text in the buffer.
- Plain lists such as ordered lists (with numbers) and unordered lists (with dashes).
- Links that behave like HTML hyperlinks to include references to either external files or website URLs.
- Todo lists with checkbox support.
- Formatted dates and times.
Written by

Razvan Ludosanu
Founder, learnbackend.dev
Filed Under
Related Articles
Vim Find And Replace
You can use either the substitute command or the slash and dot method to search for patterns and replace with different values.

Vim / Vi Page Up and Down Controls
Quick reference for Vim's page up and down controls

Copy & Paste in Vim / Vi
Copy (Yank), Paste (Put) and Cut (Delete) in Vim

Undo & Redo in Vim / Vi
Keyboard shortcuts and summary of how Vim tracks changes

Show & Hide Line Numbers in Vim / Vi
Toggle absolute and relative line numbers

Select all in Vim / Vi
Select all and copy, paste, or delete the contents

Searching in Vim
Search forward, backward, case insensitive, and more

Go To End of File in Vim / Vi
Select and delete to the end of a file in Vim

How to delete lines in Vim / Vi
The best answer depends on which mode you use

Copy & Paste in Vim / Vi
Copy (Yank), Paste (Put) and Cut (Delete) in Vim

